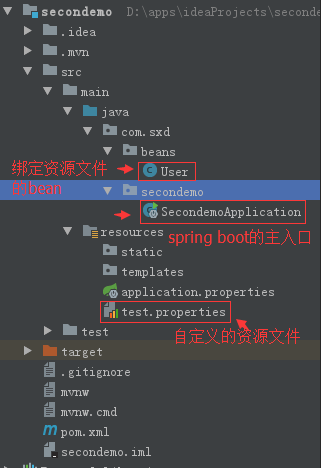
整个例子的结构目录如下:
1.自定义一个资源文件
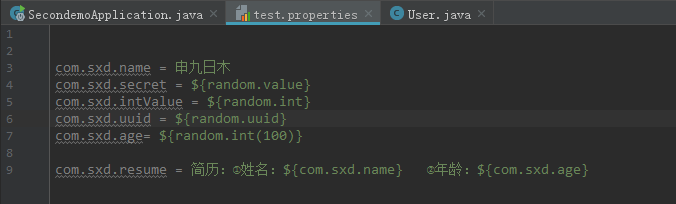
com.sxd.name = 申九日木com.sxd.secret = ${random.value}com.sxd.intValue = ${random.int}com.sxd.uuid = ${random.uuid}com.sxd.age= ${random.int(100)}com.sxd.resume = 简历:①姓名:${com.sxd.name} ②年龄:${com.sxd.age}
2.将资源文件中的属性绑定到一个bean上
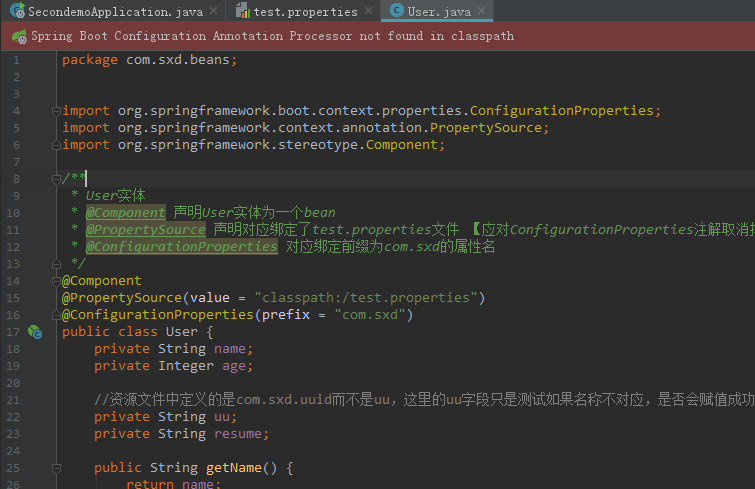


package com.sxd.beans;import org.springframework.boot.context.properties.ConfigurationProperties;import org.springframework.context.annotation.PropertySource;import org.springframework.stereotype.Component;/** * User实体 * @Component 声明User实体为一个bean * @PropertySource 声明对应绑定了test.properties文件 【应对ConfigurationProperties注解取消掉location的属性】 * @ConfigurationProperties 对应绑定前缀为com.sxd的属性名 */@Component@PropertySource(value = "classpath:/test.properties")@ConfigurationProperties(prefix = "com.sxd")public class User { private String name; private Integer age; //资源文件中定义的是com.sxd.uuid而不是uu,这里的uu字段只是测试如果名称不对应,是否会赋值成功 private String uu; private String resume; public String getName() { return name; } public void setName(String name) { this.name = name; } public Integer getAge() { return age; } public void setAge(Integer age) { this.age = age; } public String getUu() { return uu; } public void setUu(String uu) { this.uu = uu; } public String getResume() { return resume; } public void setResume(String resume) { this.resume = resume; }}
3.spring boot的主入口
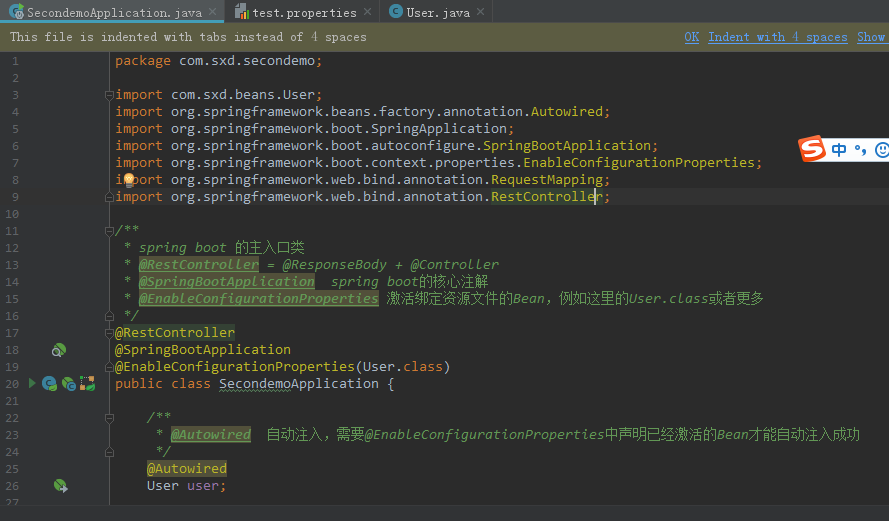
package com.sxd.secondemo;import com.sxd.beans.User;import org.springframework.beans.factory.annotation.Autowired;import org.springframework.boot.SpringApplication;import org.springframework.boot.autoconfigure.SpringBootApplication;import org.springframework.boot.context.properties.EnableConfigurationProperties;import org.springframework.web.bind.annotation.RequestMapping;import org.springframework.web.bind.annotation.RestController;/** * spring boot 的主入口类 * @RestController = @ResponseBody + @Controller * @SpringBootApplication spring boot的核心注解 * @EnableConfigurationProperties 激活绑定资源文件的Bean,例如这里的User.class或者更多 */@RestController@SpringBootApplication@EnableConfigurationProperties(User.class)public class SecondemoApplication { /** * @Autowired 自动注入,需要@EnableConfigurationProperties中声明已经激活的Bean才能自动注入成功 */ @Autowired User user; /** * 请求地址为localhost:8080/即可访问到本方法 * @return */ @RequestMapping("/") public String hello(){ /** * idea中 System.out.println()快捷方式为sout,然后Alt+Enter才能出来 */ System.out.println(user.getResume()); return "打印简历:"+user.getResume()+"\n"+"uu是否有值:"+user.getUu(); } public static void main(String[] args) { SpringApplication.run(SecondemoApplication.class, args); }}
4.运行结果:

