使用CAShapeLayer与UIBezierPath画出想要的图形
发布日期:2021-10-02 15:44:17
浏览次数:6
分类:技术文章
本文共 2973 字,大约阅读时间需要 9 分钟。
使用CAShapeLayer与UIBezierPath可以实现不在view的drawRect方法中就画出一些想要的图形
步骤:
1、新建UIBezierPath对象bezierPath
2、新建CAShapeLayer对象caShapeLayer
3、将bezierPath的CGPath赋值给caShapeLayer的path,即caShapeLayer.path = bezierPath.CGPath
4、把caShapeLayer添加到某个显示该图形的layer中
下面的小例子是一个环形的progress代码,有具体的使用方法
.h文件:
- #import <QuartzCore/QuartzCore.h>
- #import <UIKit/UIKit.h>
- @interface KACircleProgressView : UIView {
- CAShapeLayer *_trackLayer;
- UIBezierPath *_trackPath;
- CAShapeLayer *_progressLayer;
- UIBezierPath *_progressPath;
- }
- @property (nonatomic, strong) UIColor *trackColor;
- @property (nonatomic, strong) UIColor *progressColor;
- @property (nonatomic) float progress;//0~1之间的数
- @property (nonatomic) float progressWidth;
- - (void)setProgress:(float)progress animated:(BOOL)animated;
- @end
.m文件
- #import "KACircleProgressView.h"
- @implementation KACircleProgressView
- - (id)initWithFrame:(CGRect)frame
- {
- self = [super initWithFrame:frame];
- if (self) {
- // Initialization code
- _trackLayer = [CAShapeLayer new];
- [self.layer addSublayer:_trackLayer];
- _trackLayer.fillColor = nil;
- _trackLayer.frame = self.bounds;
- _progressLayer = [CAShapeLayer new];
- [self.layer addSublayer:_progressLayer];
- _progressLayer.fillColor = nil;
- _progressLayer.lineCap = kCALineCapRound;
- _progressLayer.frame = self.bounds;
- //默认5
- self.progressWidth = 5;
- }
- return self;
- }
- - (void)setTrack
- {
- _trackPath = [UIBezierPath bezierPathWithArcCenter:self.center radius:(self.bounds.size.width - _progressWidth)/ 2 startAngle:0 endAngle:M_PI * 2 clockwise:YES];;
- _trackLayer.path = _trackPath.CGPath;
- }
- - (void)setProgress
- {
- _progressPath = [UIBezierPath bezierPathWithArcCenter:self.center radius:(self.bounds.size.width - _progressWidth)/ 2 startAngle:- M_PI_2 endAngle:(M_PI * 2) * _progress - M_PI_2 clockwise:YES];
- _progressLayer.path = _progressPath.CGPath;
- }
- - (void)setProgressWidth:(float)progressWidth
- {
- _progressWidth = progressWidth;
- _trackLayer.lineWidth = _progressWidth;
- _progressLayer.lineWidth = _progressWidth;
- [self setTrack];
- [self setProgress];
- }
- - (void)setTrackColor:(UIColor *)trackColor
- {
- _trackLayer.strokeColor = trackColor.CGColor;
- }
- - (void)setProgressColor:(UIColor *)progressColor
- {
- _progressLayer.strokeColor = progressColor.CGColor;
- }
- - (void)setProgress:(float)progress
- {
- _progress = progress;
- [self setProgress];
- }
- - (void)setProgress:(float)progress animated:(BOOL)animated
- {
- }
- /*
- // Only override drawRect: if you perform custom drawing.
- // An empty implementation adversely affects performance during animation.
- - (void)drawRect:(CGRect)rect
- {
- // Drawing code
- }
- */
- @end
使用:
- - (void)viewDidLoad
- {
- [super viewDidLoad];
- // Do any additional setup after loading the view, typically from a nib.
- KACircleProgressView *progress = [[KACircleProgressView alloc] initWithFrame:CGRectMake(0, 0, 100, 100)];
- [self.view addSubview:progress];
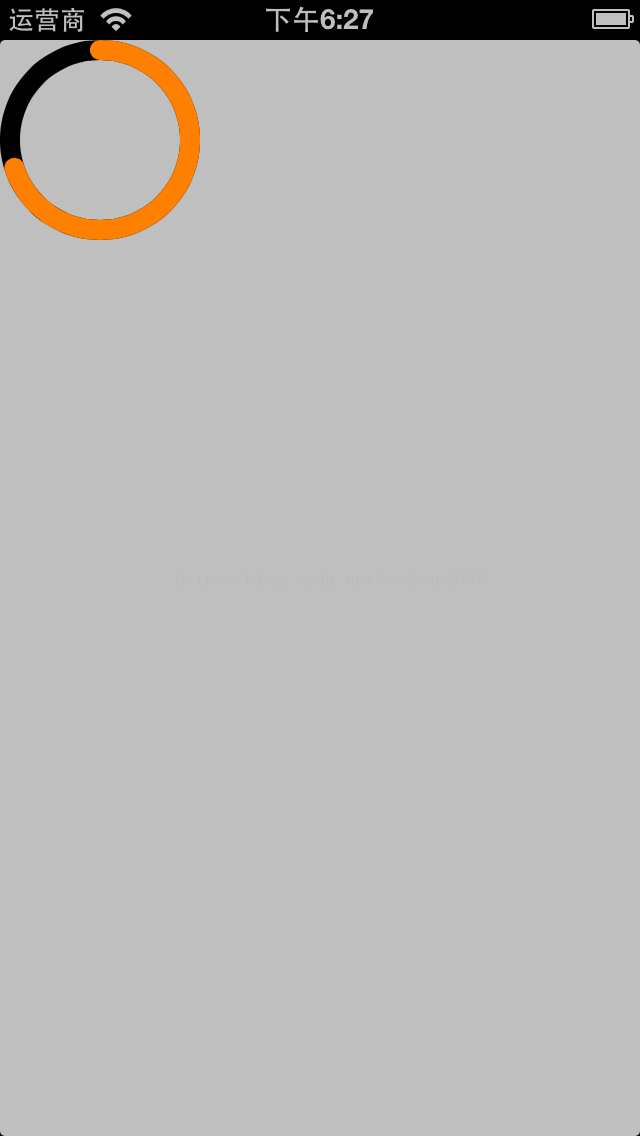
- progress.trackColor = [UIColor blackColor];
- progress.progressColor = [UIColor orangeColor];
- progress.progress = .7;
- progress.progressWidth = 10;
- }
最后上一张效果图:
转载请注明出处,多谢
转载地址:https://blog.csdn.net/jinyeweiyang/article/details/41253375 如侵犯您的版权,请留言回复原文章的地址,我们会给您删除此文章,给您带来不便请您谅解!
发表评论
最新留言
很好
[***.229.124.182]2024年04月02日 04时45分40秒
关于作者

喝酒易醉,品茶养心,人生如梦,品茶悟道,何以解忧?唯有杜康!
-- 愿君每日到此一游!
推荐文章
Spring Cloud Config & Spring Cloud Bus
2019-04-26
微服务容器部署与 jenkins 持续集成
2019-04-26
容器管理与容器监控
2019-04-26
java爬虫框架—WebMagic
2019-04-26
Java 基础之反射
2019-04-26
一起来学MySQL—常用内置函数
2019-04-26
Spring 核心 之 IOC
2019-04-26
一起来学MySQL—事务的隔离级别
2019-04-26
直连线和交叉线的区别
2019-04-26
数据库视频—使用.Net访问SQL Server
2019-04-26
数据库视频—总结
2019-04-26
机房收费系统—组合查询
2019-04-26
关于VB中的WithEvents关键字理解
2019-04-26
软工视频—软件工程概论
2019-04-26
软工视频—面向过程的设计方法
2019-04-26
软工视频—程序编码
2019-04-26
软工视频—软件测试
2019-04-26
软工视频—用户界面设计
2019-04-26
三种web服务器—Apache、Tomcat、IIS
2019-04-26
UML构成
2019-04-26
白红宇的个人博客 - 记录点点滴滴的事 - 您是第 306035661 位访客
访问时间: 2024-04-19 00:40:52
访问IP: 18.189.2.122
Copyright © 2020 - 2023 blog.css8.cn 京ICP备2021015314号-1
手机版