本文共 10128 字,大约阅读时间需要 33 分钟。
上次我们用three.js写了一个,主要是用粒子。这次是用three.js搭建了一个小场景。
项目地址依然是:https://github.com/alasolala/threejs-tutorial.git ,后面three.js的练习demo都放在这里。
作为练习的小项目,这个小场景可以练习:
- 各种几何体、贴图的运用
- 导入外部模型
- 场景与用户交互
- 简单的动画
- 调试three.js项目 虽然很简单,但完整地写下来还是挺有收获。
草地场景
场景搭建复用了在下雨动画中的场景模板。
首先是在草地上搭建一个房子,草地的实现是一个很大的平面几何体,然后用草地材质的贴图不断重复,铺满整个平面。
const groundGeometry = new PlaneGeometry( 20000, 20000 ) //草地平面几何体const groundTexture = new TextureLoader().load('/images/room/grass.jpg') //加载草地材质groundTexture.wrapS = groundTexture.wrapT = RepeatWrapping //设置重复贴图groundTexture.repeat.set( 50, 50 )groundTexture.anisotropy = 16const groundMaterial = new MeshLambertMaterial({ //生成贴图的材质 map: groundTexture })const ground = new Mesh( groundGeometry, groundMaterial ) //生成草地 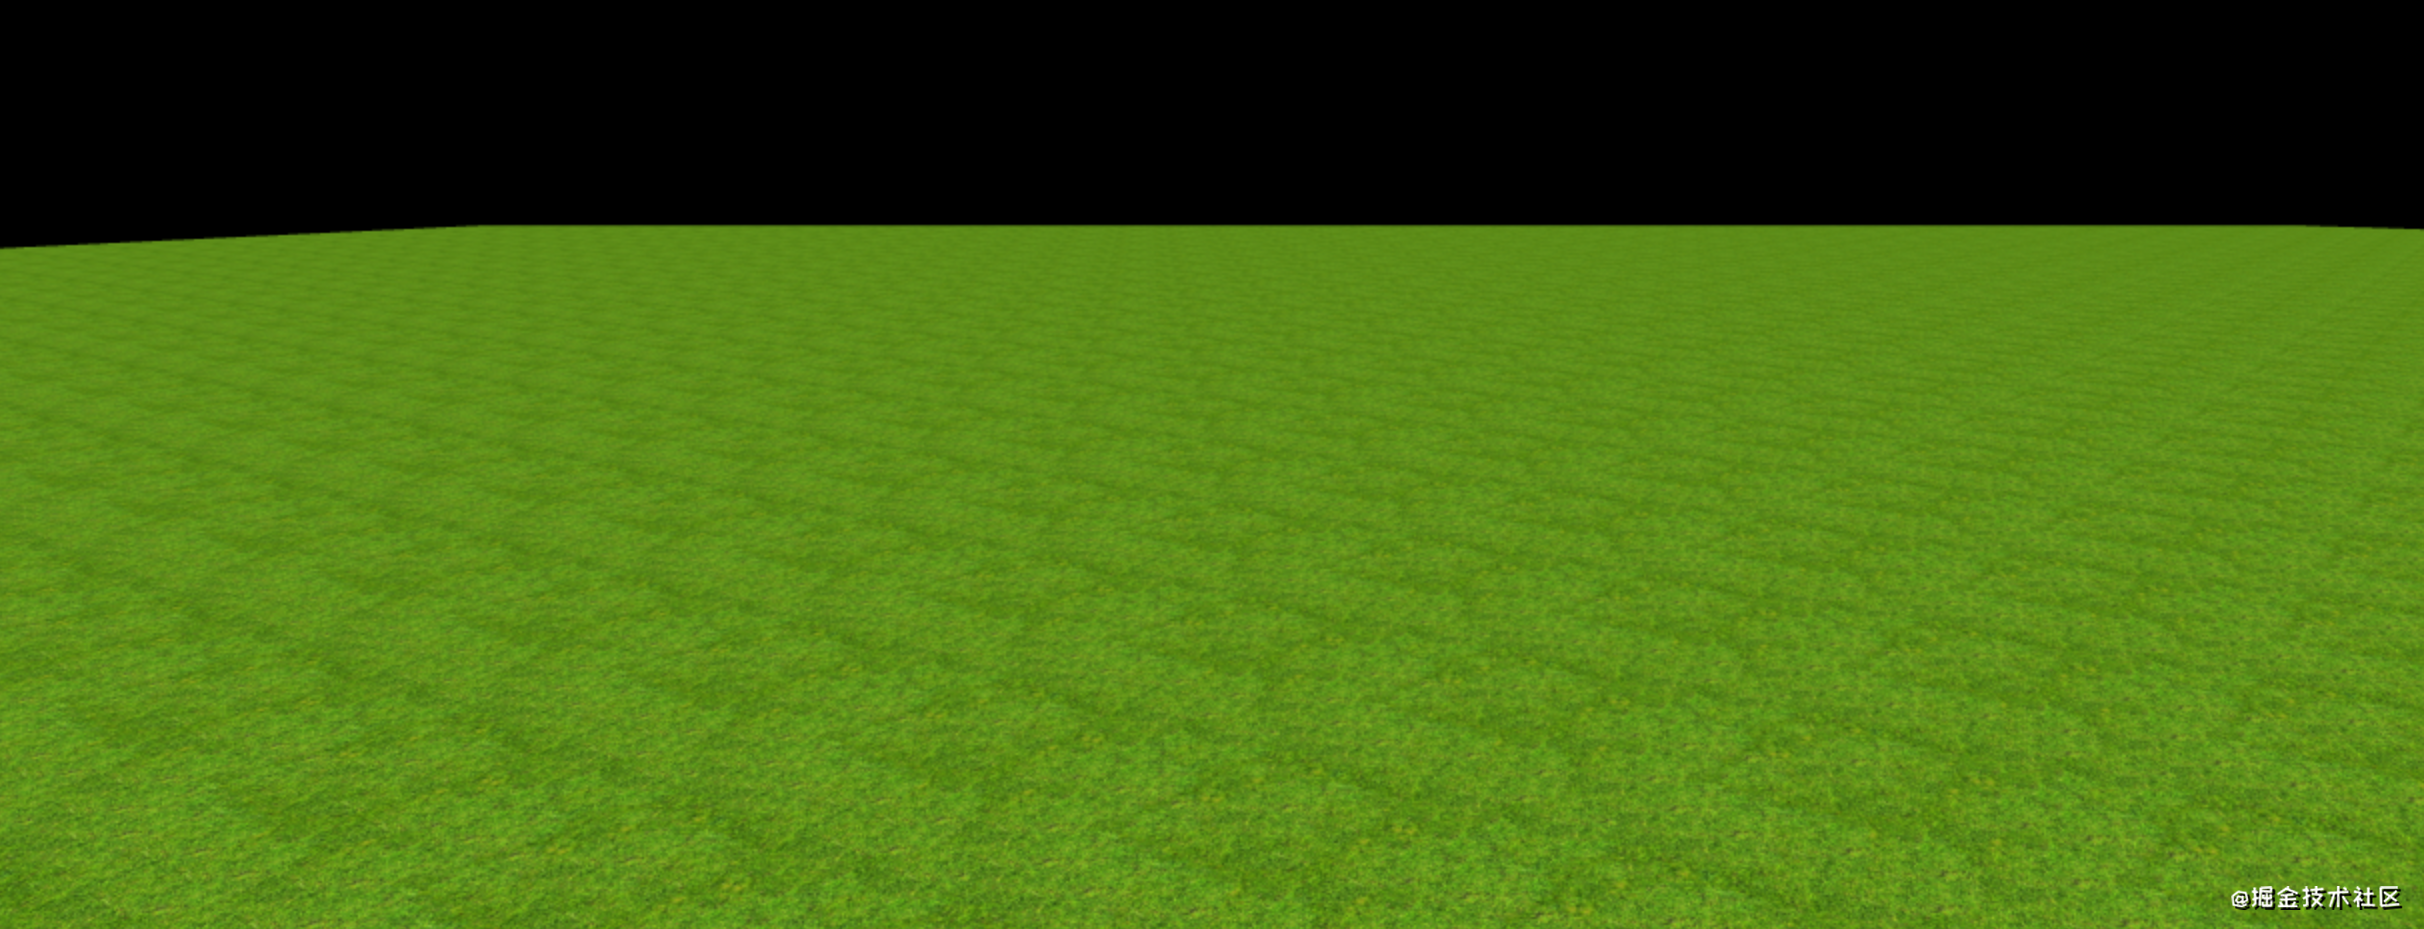
this.rendererColor = new Color(0xcce0ff) //设置画布的背景色//renderer.setClearColor(this.rendererColor)this.scene.fog = new Fog( 0xcce0ff, 2500, 10000) //加上雾化的效果

this.PCamera.far = 10000this.PCamera.near = 1this.cameraPostion = new Vector3(1000, 600, 1500)
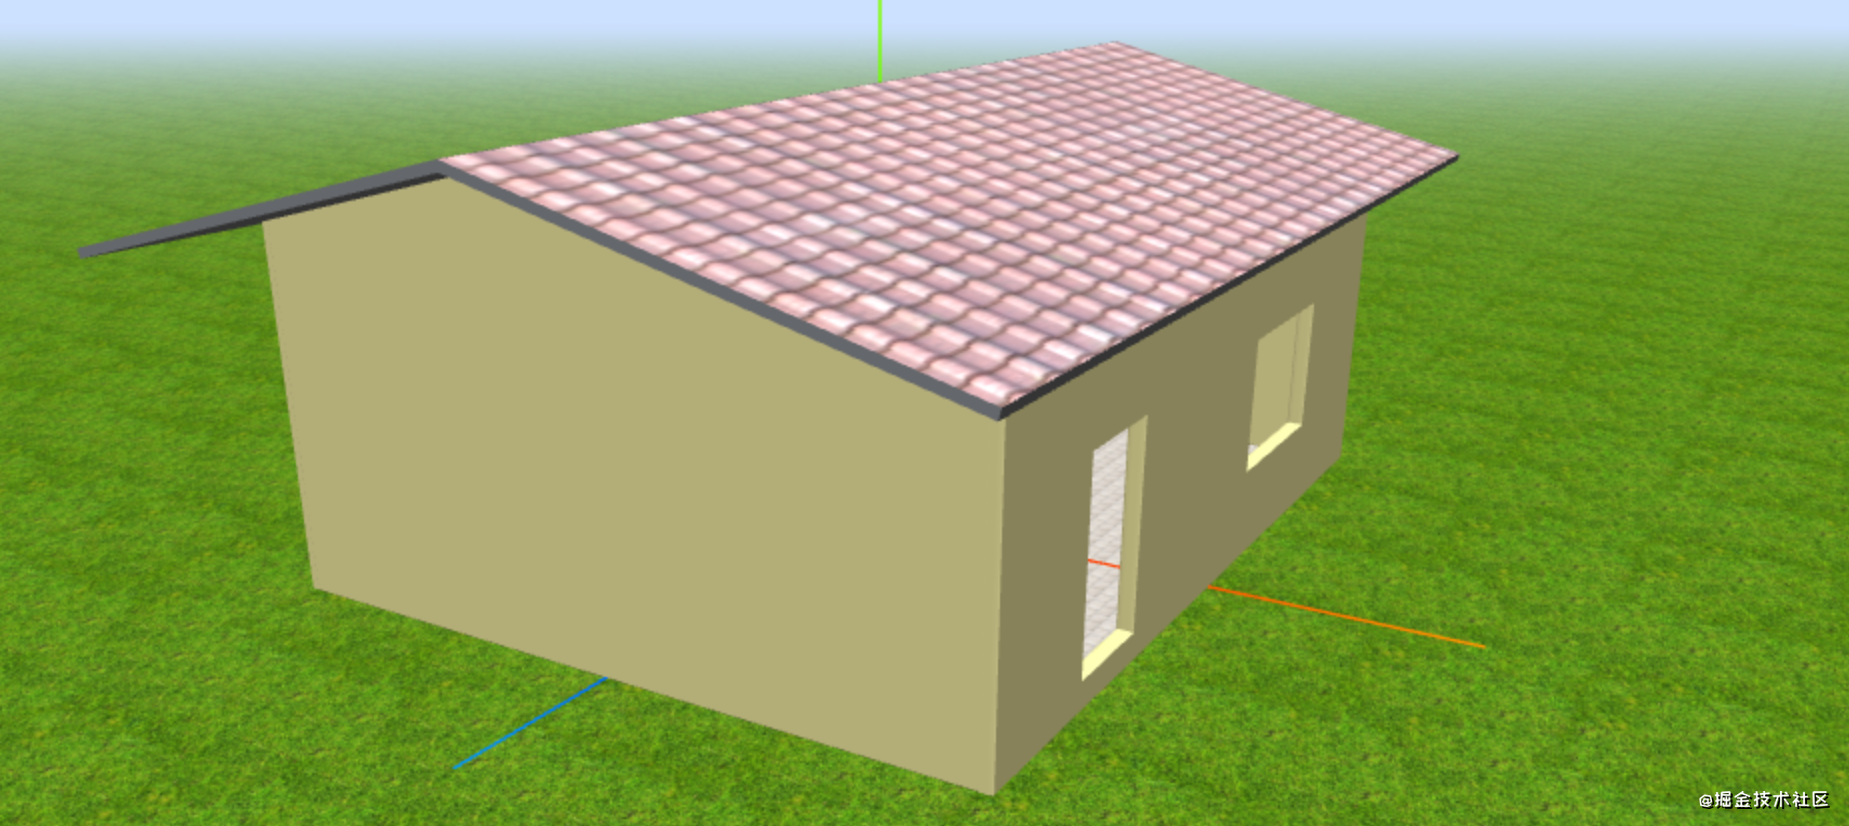
盖房子
我们的房子是建在原点左右的,这样方便坐标的设置。
为了方便调试,我们在场景中加入AxesHelper,它用于简单模拟场景中的3个坐标轴。红色代表 X 轴,绿色代表 Y 轴,蓝色代表 Z 轴。
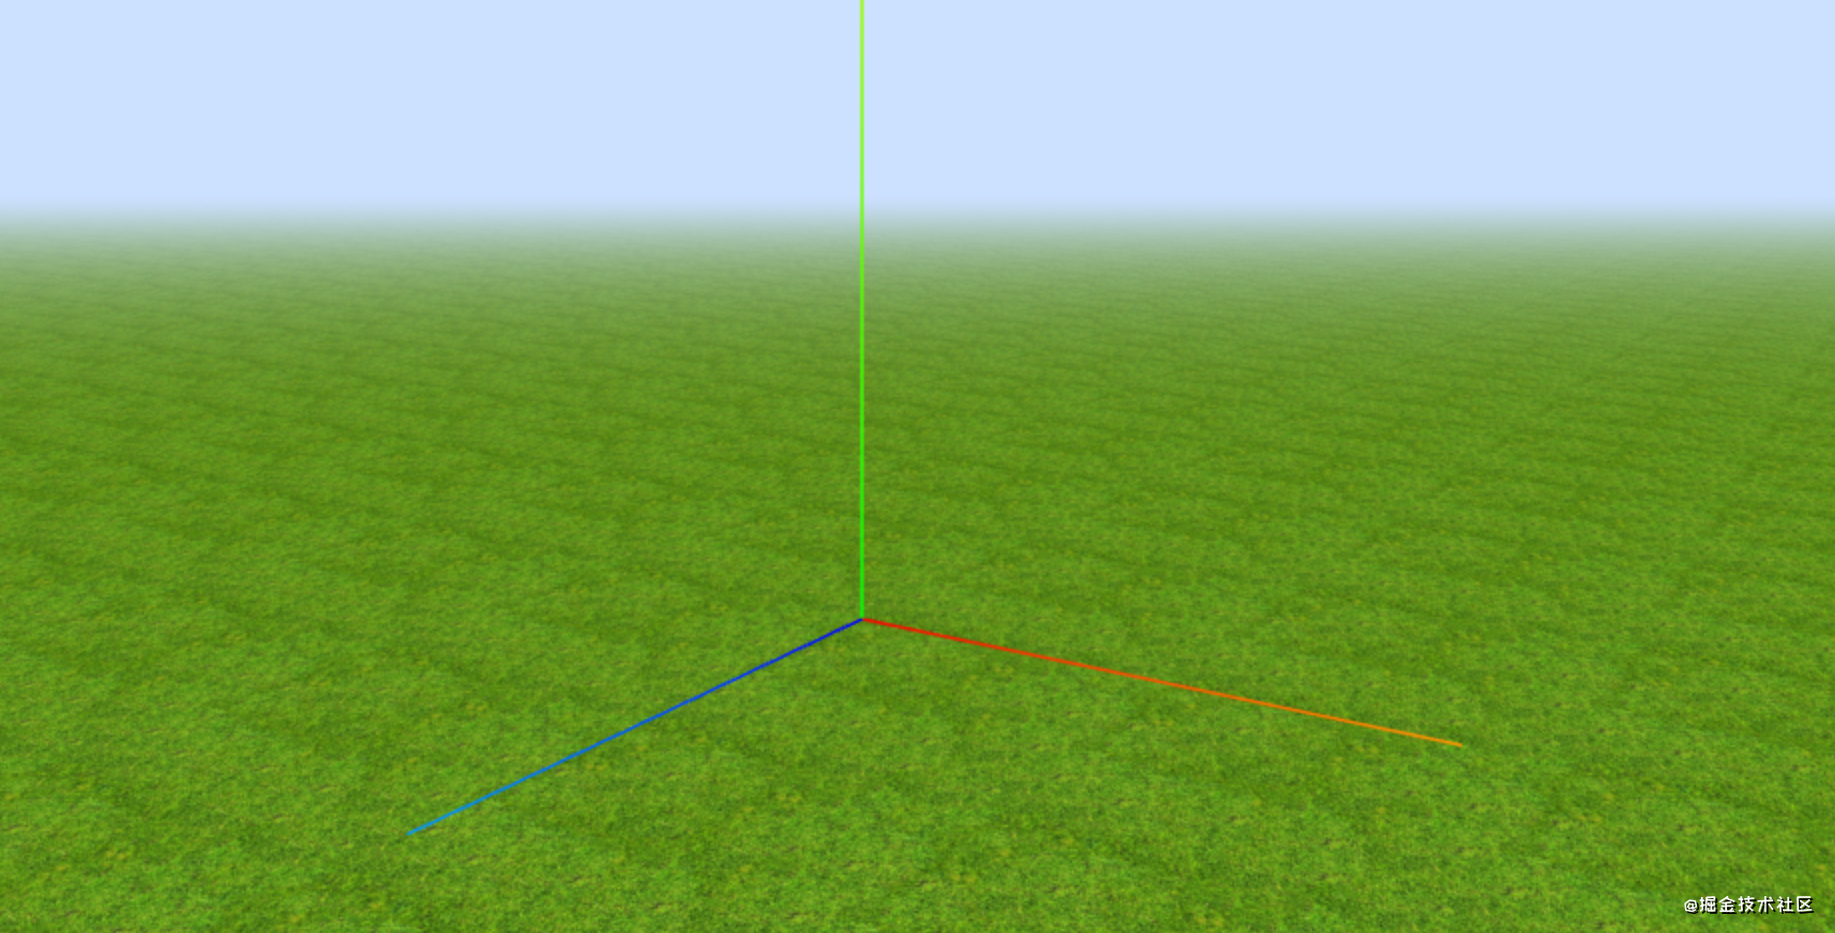
const axesHelper = new AxesHelper( 700 ) //创建AxesHelper,700是三条线的长度this.scene.add( axesHelper ) //将AxesHelper加入到场景中
有了AxesHelper,我们在坐标系中设置位置,旋转等信息就方便多了。
- 首先,创建一个地面,和上面草地的创建一样,
PlaneGeometry和贴图。
const floorGeometry = new PlaneGeometry( 800, 1000 )const floorTexture = new TextureLoader().load('/images/room/floor.png')floorTexture.wrapS = floorTexture.wrapT = RepeatWrappingfloorTexture.repeat.set( 25, 25 )floorTexture.anisotropy = 16const floorMaterial = new MeshLambertMaterial({ map: floorTexture })const floor = new Mesh( floorGeometry, floorMaterial ) 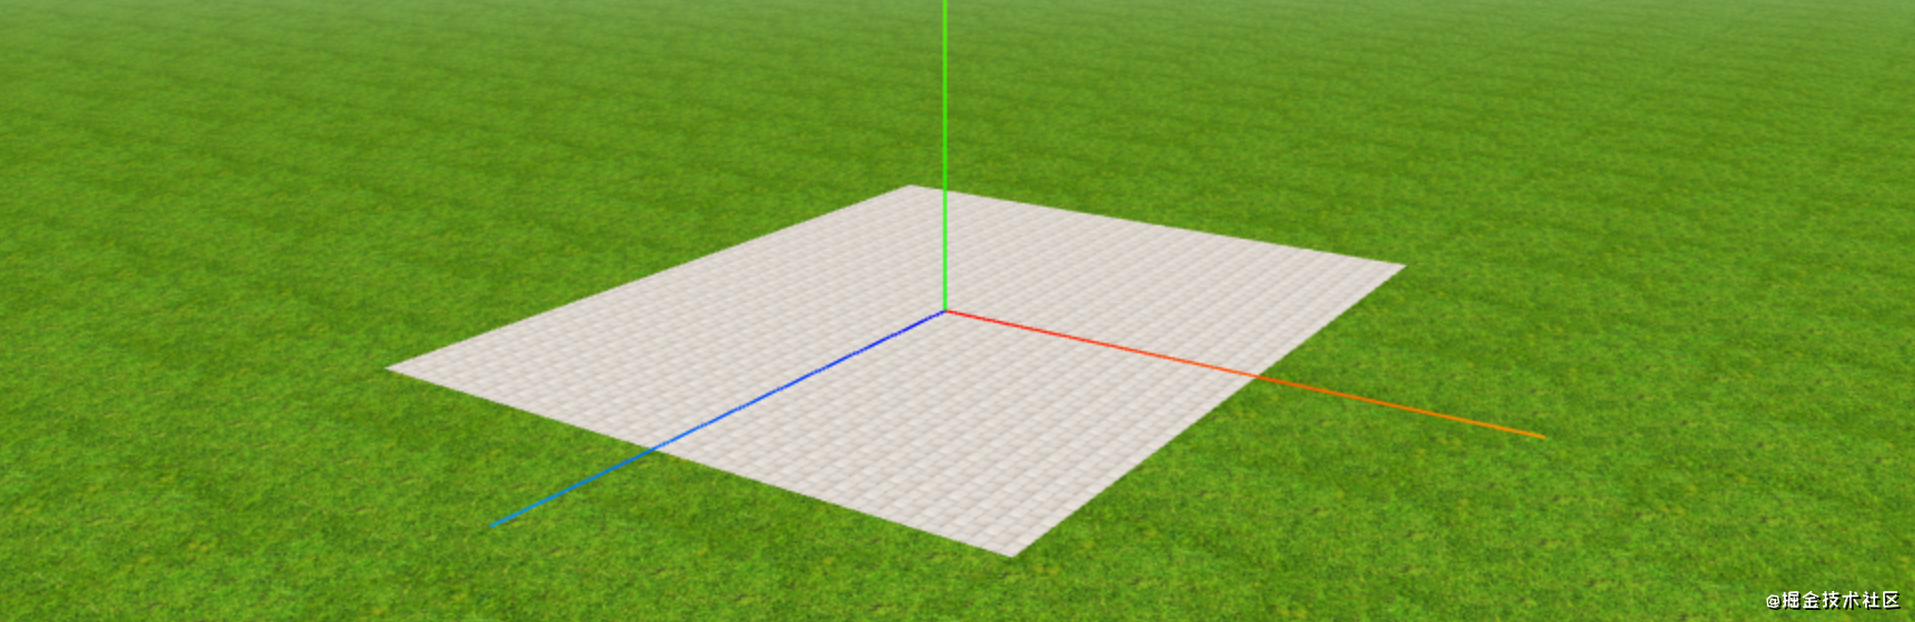
- 接下来就是墙体。墙体按形状主要分为:前墙、后墙和侧墙。后墙最简单,就是普通的立方体,侧墙是不规则立方体,前墙是立方体上面挖了门和窗两个洞。
后墙我们直接用BoxGeometry.
const boxGeometry = new BoxGeometry( ...arguments )const boxMaterial = new MeshLambertMaterial({ color: 0xe5d890 })const box = new Mesh( boxGeometry, boxMaterial ) 侧墙和前墙用ExtrudeGeometry。ExtrudeGeometry可以从一个二维图形创建出一个三维图形,我们可以先画一个二维的形状,ExtrudeGeometry会将这个二维形状不断 “加厚”,得到一个柱体。类比从一个平面圆到一个圆柱体。
以侧墙为例,我们要先画一个如下的形状,然后把它“加厚”:
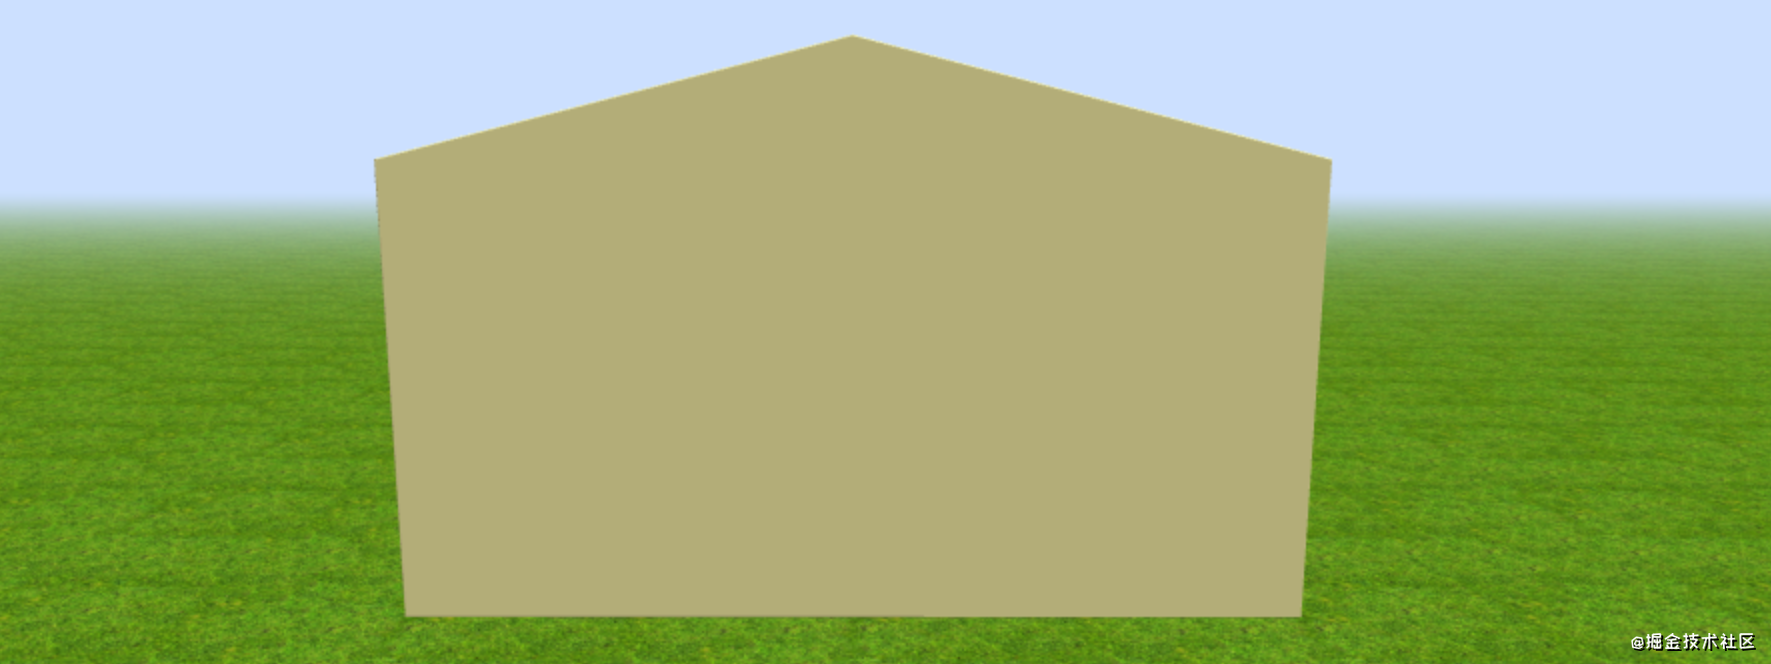
function drawShape () { const shape = new Shape() //用Shape类绘制二维形状 shape.moveTo(-400, 0) //绘制方法类似canvas中的绘制方法 shape.lineTo(400, 0) shape.lineTo(400,400) shape.lineTo(0,500) shape.lineTo(-400,400) const extrudeSettings = { //Extrude配置,具体可以修改参数调试各种效果 amount: 8, bevelSegments: 2, steps: 2, bevelSize: 1, bevelThickness: 1 } //根据二维形状和Extrude配置生成ExtrudeGeometry const geometry = new ExtrudeGeometry( shape, extrudeSettings ) }const wallGeometry = drawShape()const wallMaterial = new MeshLambertMaterial({ color: 0xe5d890 })const wall = new Mesh( wallGeometry, wallMaterial ) 前墙的绘制和侧墙类似,只是要“挖”门和窗两个洞。其实也是在二维图形上“挖”。
drawShape () { const shape = new Shape() //绘制整体形状 shape.moveTo(-500, 0) shape.lineTo(500, 0) shape.lineTo(500,400) shape.lineTo(-500,400) const window = new Path() //用Path类绘制窗户形状 window.moveTo(100,100) window.lineTo(100,250) window.lineTo(300,250) window.lineTo(300,100) shape.holes.push(window) //将窗户形状加入到shape.holes数组,就会从当前形状减去窗户形状。 const door = new Path() //用Path类绘制门的形状 door.moveTo(-330,30) door.lineTo(-330, 250) door.lineTo(-210, 250) door.lineTo(-210, 30) shape.holes.push(door) //将门的形状加入到shape.holes数组 const extrudeSettings = { amount: 8, bevelSegments: 2, steps: 2, bevelSize: 1, bevelThickness: 5 } const geometry = new ExtrudeGeometry( shape, extrudeSettings ) return geometry} 这样,四面墙就绘制完成了,ExtrudeGeometry可以实现各种形状的镂空柱体,后面的门框和窗框也是基于它实现的。

- 最后就是搭上屋顶。屋顶是用两个
BoxGeometry,设置合适的位置和旋转角度实现的,每一个BoxGeometry的其中一面用贴图,剩下的五个面使用纯色。
const roofGeometry = new BoxGeometry( 500, 1300, 10 ) //创建几何体const roofTexture = new TextureLoader().load('/images/room/roof.png') //导入贴图roofTexture.wrapS = roofTexture.wrapT = RepeatWrappingroofTexture.repeat.set( 2, 2 ) const materials = [] //创建一个6项的材质数组,three.js会自动将每一项贴一个面const colorMaterial = new MeshLambertMaterial({ color: 'grey' })const textureMaterial = new MeshLambertMaterial({ map: roofTexture })for(let i=0; i<6; i++){ materials.push(colorMaterial) }materials[5] = textureMaterial //将其中一个面的设为图片材质,而其他五个面是纯色材质const roof = new Mesh( roofGeometry, materials ) 然后就是调整它的位置,还有倾角,让屋顶和侧墙的斜角切合。
加入门窗
门分为门板和门框,它们形状和材质都不同,但是它们又是一个整体。同样,窗户和窗框也是这样的。
在three.js中,我们用Group类来管理一组物体。
const group = new Group() //创建Groupgroup.add( this.frame ) //往Group加入门框group.add( this.door ) //往Group加入门板
这样的一个好处,就是门板和门框可以作为一个整体来设置位置和旋转方向等等。比如要调整一下门的位置、朝向什么的,我们就只需要移动和旋转group,不用分别操作门板和门框。
当然,门板和门框也有相对于group的位移和旋转,比如开关门动画。
initFrame () { const frameGeometry = this.drawShape() //门框的形状是用`ExtrudeGeometry`实现的 const frameMaterial = new MeshLambertMaterial({ //门框材质 color: 0x8d7159 }) const frame = new Mesh( frameGeometry, frameMaterial ) this.frame = frame}initDoor () { const doorGeometry = new BoxGeometry(100,210,4) //门的形状 const doorTexture = new TextureLoader().load('/images/room/wood.jpg') const doorMaterial = new MeshLambertMaterial({ map: doorTexture }) //门的材质 const door = new Mesh(doorGeometry, doorMaterial) //BoxGeometry的材质不是数组时,每个面都会贴这个材质 this.param = { positionX : 60, positionZ: 0, rotationY: 0 } door.position.set(this.param.positionX, 105, this.param.positionZ) //门相对于group的位移和旋转,开关门动画会用到。 door.rotation.y = this.param.rotationY this.door = door this.status = 'closed'} 开关门动画
判断鼠标是否点击了某个物体,将鼠标点击位置转换成三维空间中的位置,从摄像机的位置向点击转化后的三维空间位置发射射线,判断物体是否在这条射线上,如果在,就意味着点击了该物体。
window.addEventListener('click', onMouseDown) //给window绑定点击事件function onMouseDown (event) { let vector = new Vector3( // 将鼠标位置归一化为设备坐标。x 和 y 方向的取值范围是 (-1 to +1) (event.clientX / window.innerWidth) * 2 - 1, -(event.clientY / window.innerHeight) * 2 + 1, 0.5 ) vector = vector.unproject(this.camera) const raycaster = new Raycaster( // 通过摄像机和鼠标位置更新射线 this.camera.position, vector.sub(this.camera.position).normalize() ) // 计算物体和射线的交点 const intersects = raycaster.intersectObjects([this.doorSet.door]) if(intersects.length > 0){ this.doorSet.animate() }} 在门被点击后,判断门的状态是开还是关,根据状态设置下一个状态的位置和旋转(相对于group)。
animate () { if(this.status === 'closed'){ this.param.positionX = 10 this.param.positionZ = 50 this.param.rotationY = -Math.PI/2 this.status= 'open' }else{ this.param.positionX = 60 this.param.positionZ = 0 this.param.rotationY = 0 this.status= 'closed' } this.onUpdate(this.param)}onUpdate (param) { this.door.position.x = param.positionX this.door.position.z = param.positionZ this.door.rotation.y = param.rotationY} [外链图片转存失败,源站可能有防盗链机制,建议将图片保存下来直接上传(img-QajAeoOm-1617153479720)(https://p3-juejin.byteimg.com/tos-cn-i-k3u1fbpfcp/71abb2243c374a569ae8f2c098ef3dfa~tplv-k3u1fbpfcp-watermark.image)]
绘制窗户
窗框的绘制和前墙的绘制一样的操作,都是用ExtrudeGeometry。
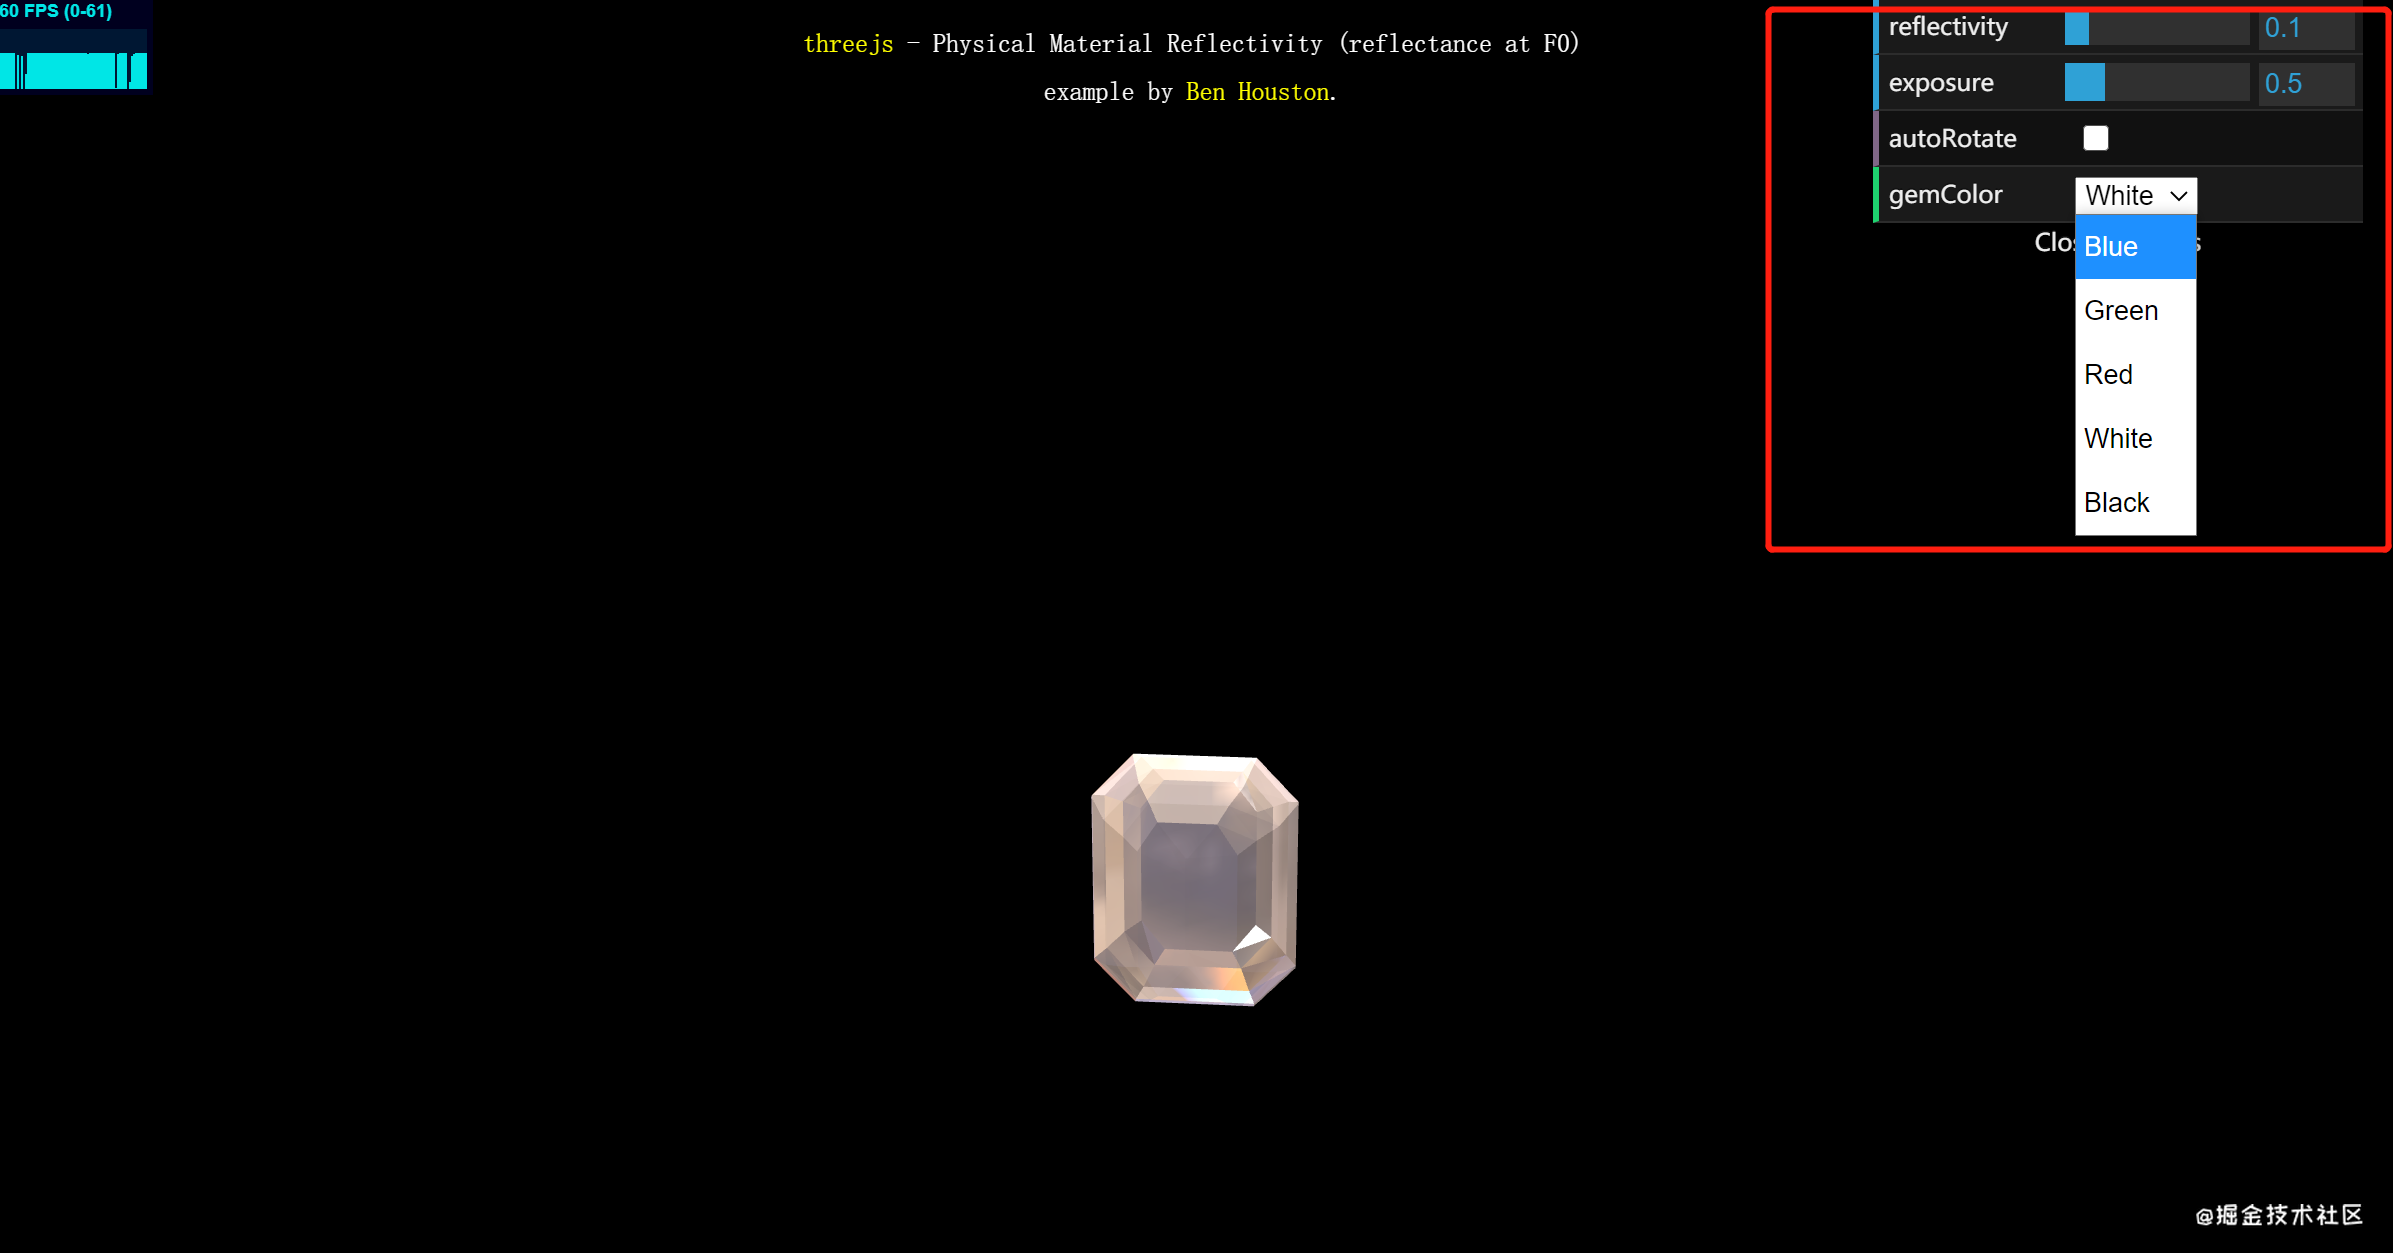
窗户是用BoxGeometry, 材质是MeshPhysicalMaterial,设置了一定的透明度,模拟玻璃的效果。
const windowGeometry = new BoxGeometry( 150, 200, 4 )const windowMaterial = new MeshPhysicalMaterial( { map: null, color: 0xcfcfcf, metalness: 0, roughness: 0, opacity: 0.45, transparent: true, envMapIntensity: 10, premultipliedAlpha: true} )const window = new Mesh( windowGeometry, windowMaterial ) 和门一样,窗户和窗框也添加到一个group中。

导入桌子和花
桌子和花是导入的外部模型。对于复杂的模型,直接用three.js搭建挺麻烦的,我们可以用专门的建模软件建模,然后导出模型。
three.js支持多种3d模型的导入,这里我们用的OBJ。
OBJ和MTL是相互配合的两种格式,经常一起使用。OBJ文件定义几何体,而MTL文件定义所用的材质。它们的导入都是借助响应的Loader完成。以导入桌子为例:
import { OBJLoader } from "three/examples/jsm/loaders/OBJLoader" //引入OBJLoaderimport { MTLLoader } from "three/examples/jsm/loaders/MTLLoader" //引入MTLLoaderfunction addTable (scene) { const mtlLoader = new MTLLoader() const objLoader = new OBJLoader() mtlLoader.load( '../../images/room/table/table.mtl', ( material ) => { //导入材质 objLoader.setMaterials( material ) //为objLoader设置材质 objLoader.load( '../../images/room/table/table.obj', ( object ) => { //导入形状 object.position.set(600,0,0) //设置形状的位置 scene.add( object ) //将形状加入到场景中 } ); })}addTable(this.scene) orbitControls
Three.js提供了一些摄像机控件,使用这些控件,你可以控制场景中的摄像机。下面是几个最常用的控件。
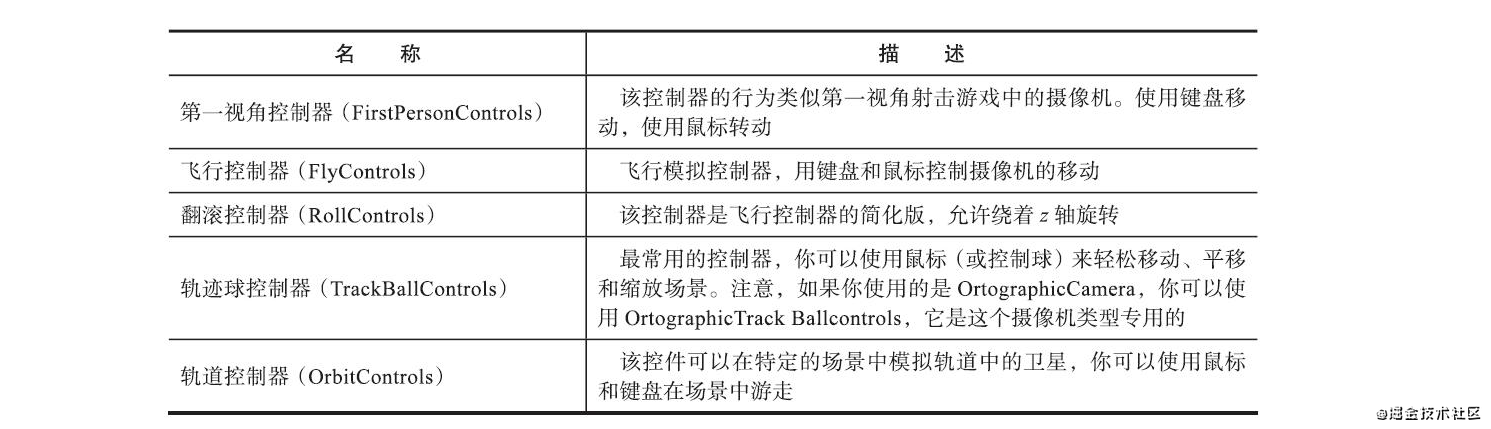 我们这里用的是轨道控制器(
OrbitControls),它可以用于控制场景中的对象围绕场景中心旋转和平移。使用方法很简单: import { OrbitControls } from "three/examples/jsm/controls/OrbitControls"function addOrbitControls (camera, el) { const controls = new OrbitControls( camera, el ) //参数是将要被控制的相机和用于事件监听的HTML元素(通常是renderer.domElement) controls.maxPolarAngle = Math.PI * 0.45 //垂直旋转的角度的上限 controls.enablePan = false //禁止平移}addOrbitControls(this.camera, this.renderer.domElement) OrbitControls允许我们按住鼠标左键旋转画面,按住右键平移画面,用鼠标滚轮放缩画面。这些都是可配置的,这里我们就禁止了平移,并设置了垂直旋转的角度的上限,以防止画面移到草地外。
[外链图片转存失败,源站可能有防盗链机制,建议将图片保存下来直接上传(img-aHi4SLpQ-1617153479723)(https://p6-juejin.byteimg.com/tos-cn-i-k3u1fbpfcp/f2b9c3898fca48d1bac47dba033673d4~tplv-k3u1fbpfcp-watermark.image)]
dat.gui
dat.gui可以很容易地创建出能够改变代码变量的界面组件,可以简化three.js的调试,在three的官方案例中,我们常常可以看到dat.gui的使用。
使用方法可以参考这篇文章, ,讲得很详细。
我们这里用它来控制坐标轴线和屋顶的显示和隐藏。
[外链图片转存失败,源站可能有防盗链机制,建议将图片保存下来直接上传(img-ULBqamMQ-1617153479724)(https://p6-juejin.byteimg.com/tos-cn-i-k3u1fbpfcp/14e90f9484ae4deaa7da1047627e4d67~tplv-k3u1fbpfcp-watermark.image)]
import { GUI } from 'dat.gui'export function Gui () { //初始化GUI,添加要控制的变量 const controls = new function () { this.showAxes = false this.showRoof = true } const gui = new GUI() gui.add(controls, 'showAxes') gui.add(controls, 'showRoof') return controls} //director.jsimport { Gui } from "../tools/dat.gui"this.Controls = Gui()//在循环渲染中,根据当前Controls中的值判断是否显示axesHelper和roofanimate () { if(this.Controls.showAxes){ this.scene.add( this.axesHelper ) }else{ this.scene.remove( this.axesHelper ) } if(this.Controls.showRoof){ this.scene.add( this.roof_1 ) this.scene.add( this.roof_2 ) }else{ this.scene.remove( this.roof_1 ) this.scene.remove( this.roof_2 ) } this.renderer.render(this.scene, this.camera) requestAnimationFrame(this.animate.bind(this))} 今天就到这里,后面在github上的threejs-tutorial项目会持续更新各种three案例,欢迎大家关注哦~~
https://github.com/magicsoso/threejs-tutorial.git转载地址:https://blog.csdn.net/ynweiy/article/details/115342271 如侵犯您的版权,请留言回复原文章的地址,我们会给您删除此文章,给您带来不便请您谅解!
发表评论
最新留言
关于作者
