本文共 4352 字,大约阅读时间需要 14 分钟。
文章目录
实现思路
在主活动中起一个服务,在服务中做播放背景音乐的操作。这里的服务可以是一般的Service,也可以是更加好用的IntentService。至于这两者的区别,不是本文的重点,大家可以自行查阅相关资料。我这里选择使用IntentService来实现功能。
准备音乐文件
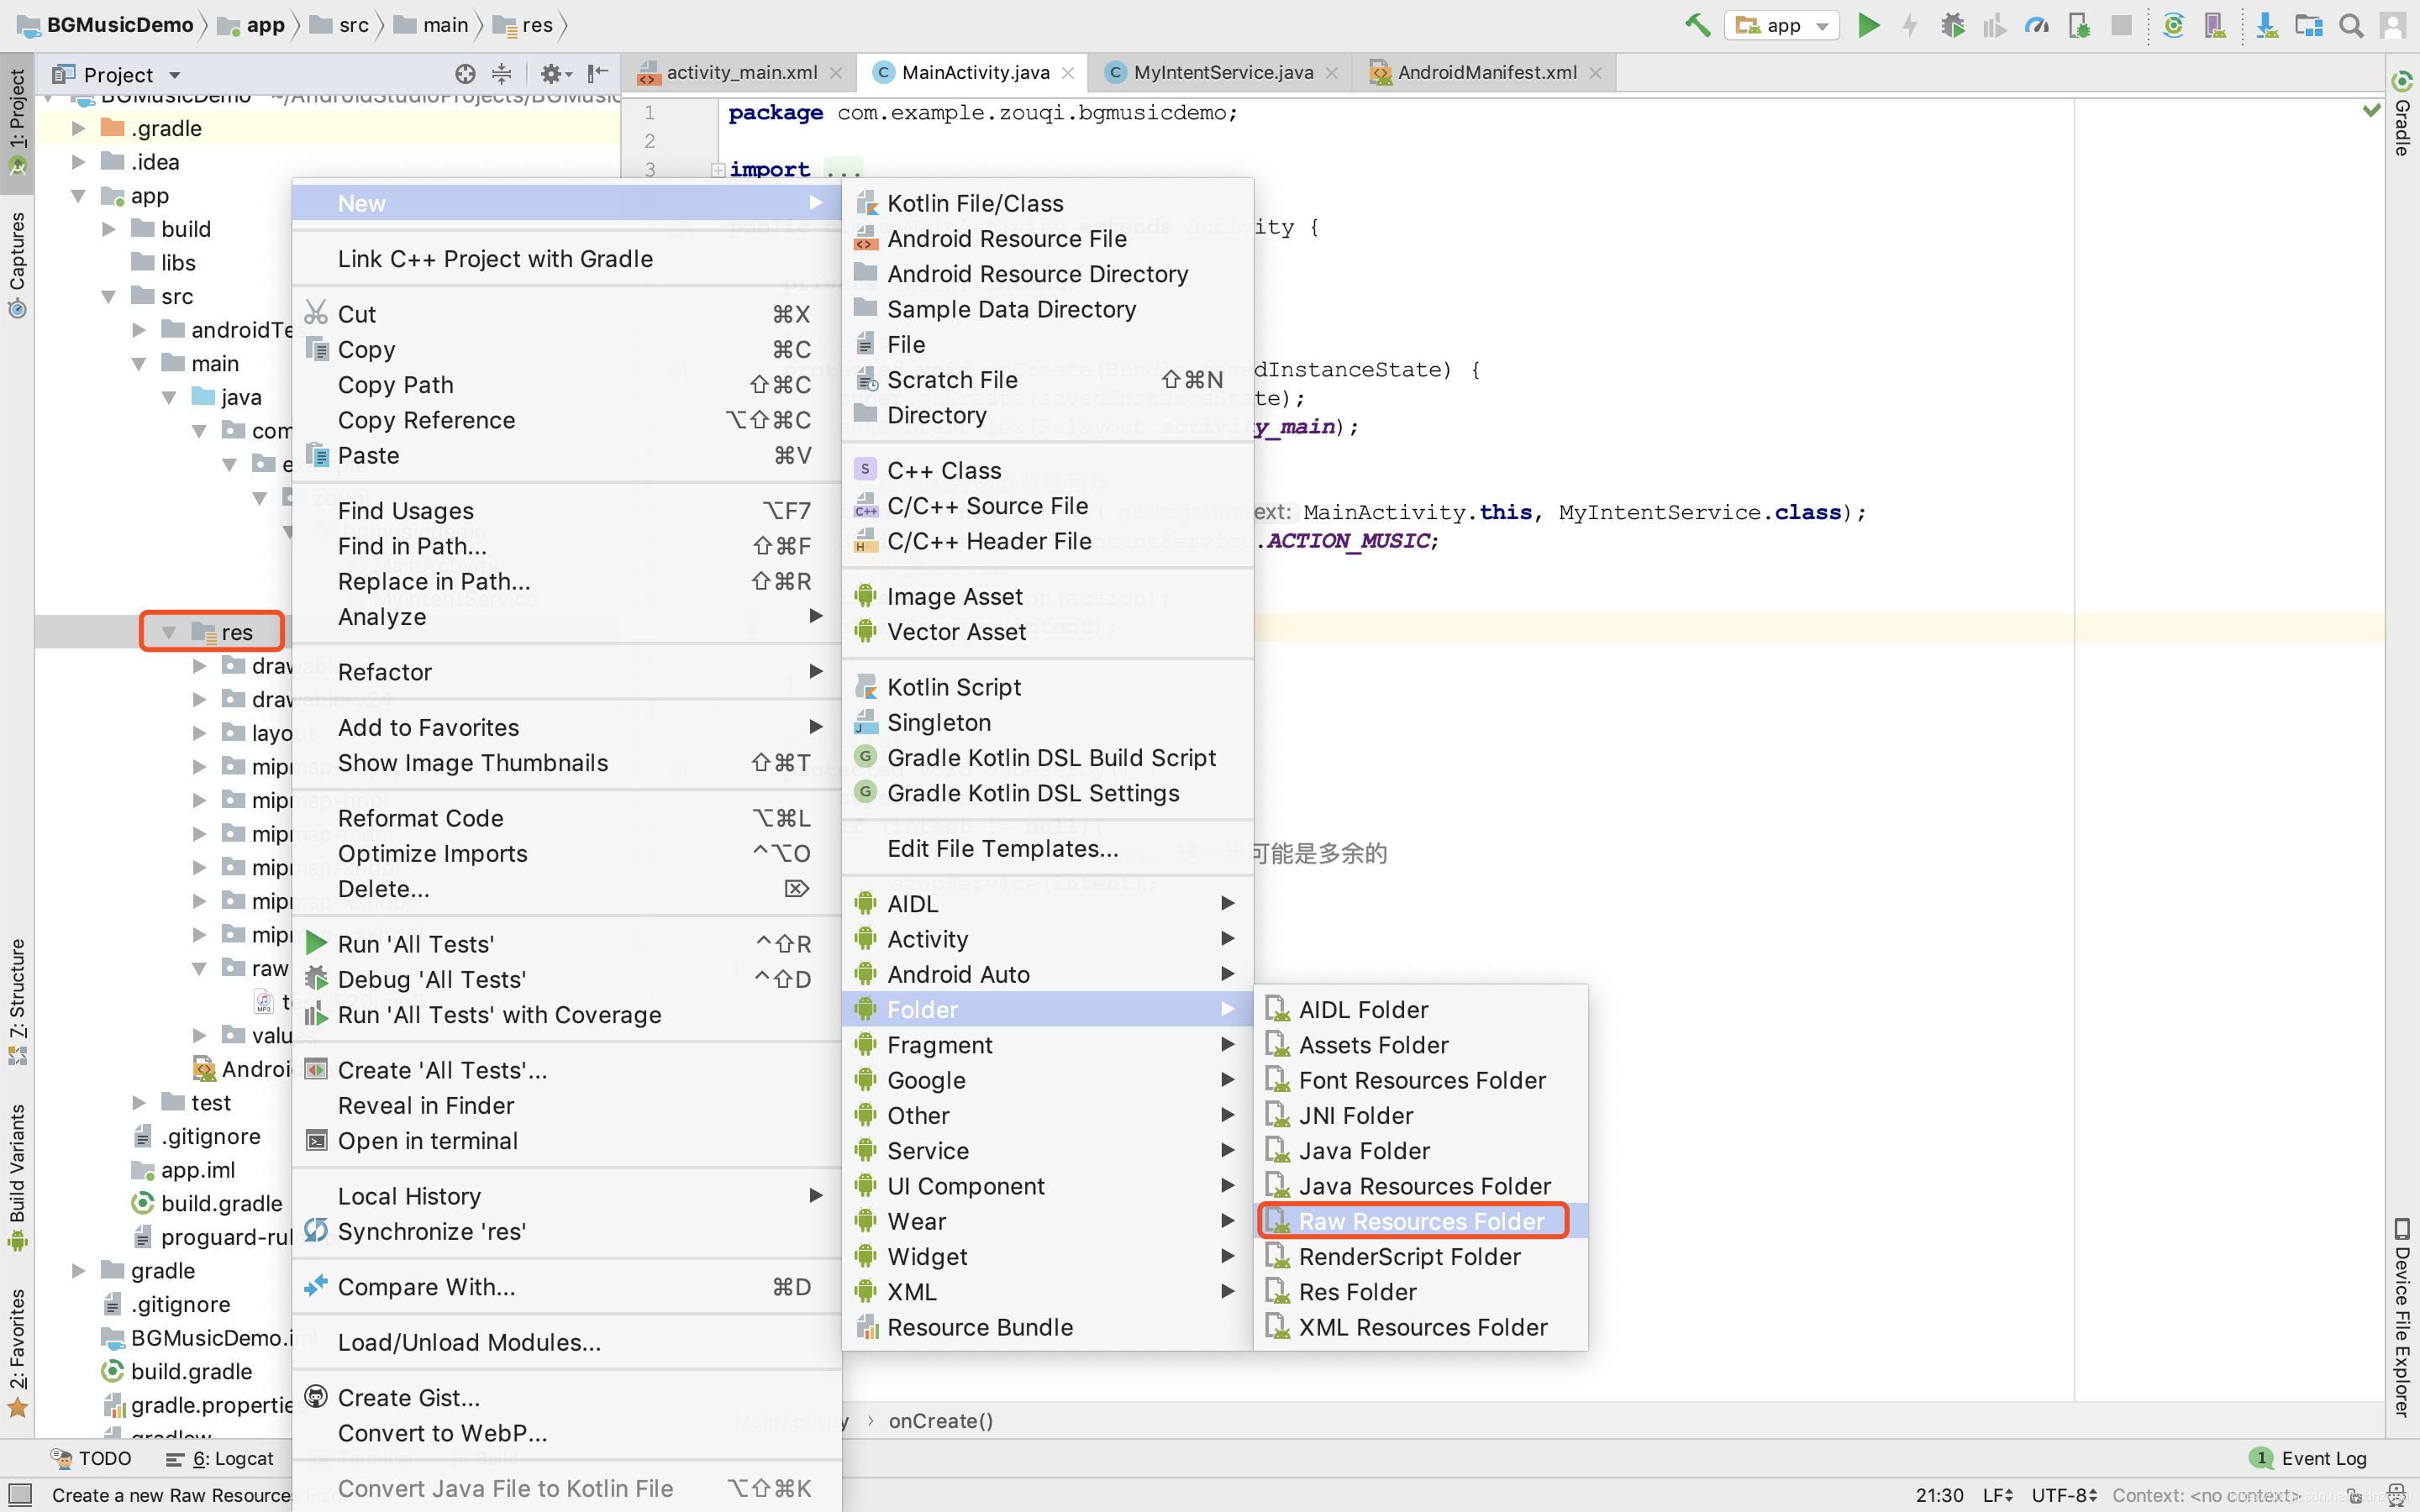
这里我们把音乐资源文件放到res资源文件夹下的raw文件夹内,一开始没有raw文件夹,新建raw文件夹如下图:
 创建好后,能看到
raw文件夹了,我们往里面粘贴已经拷贝了的音乐文件,如图: 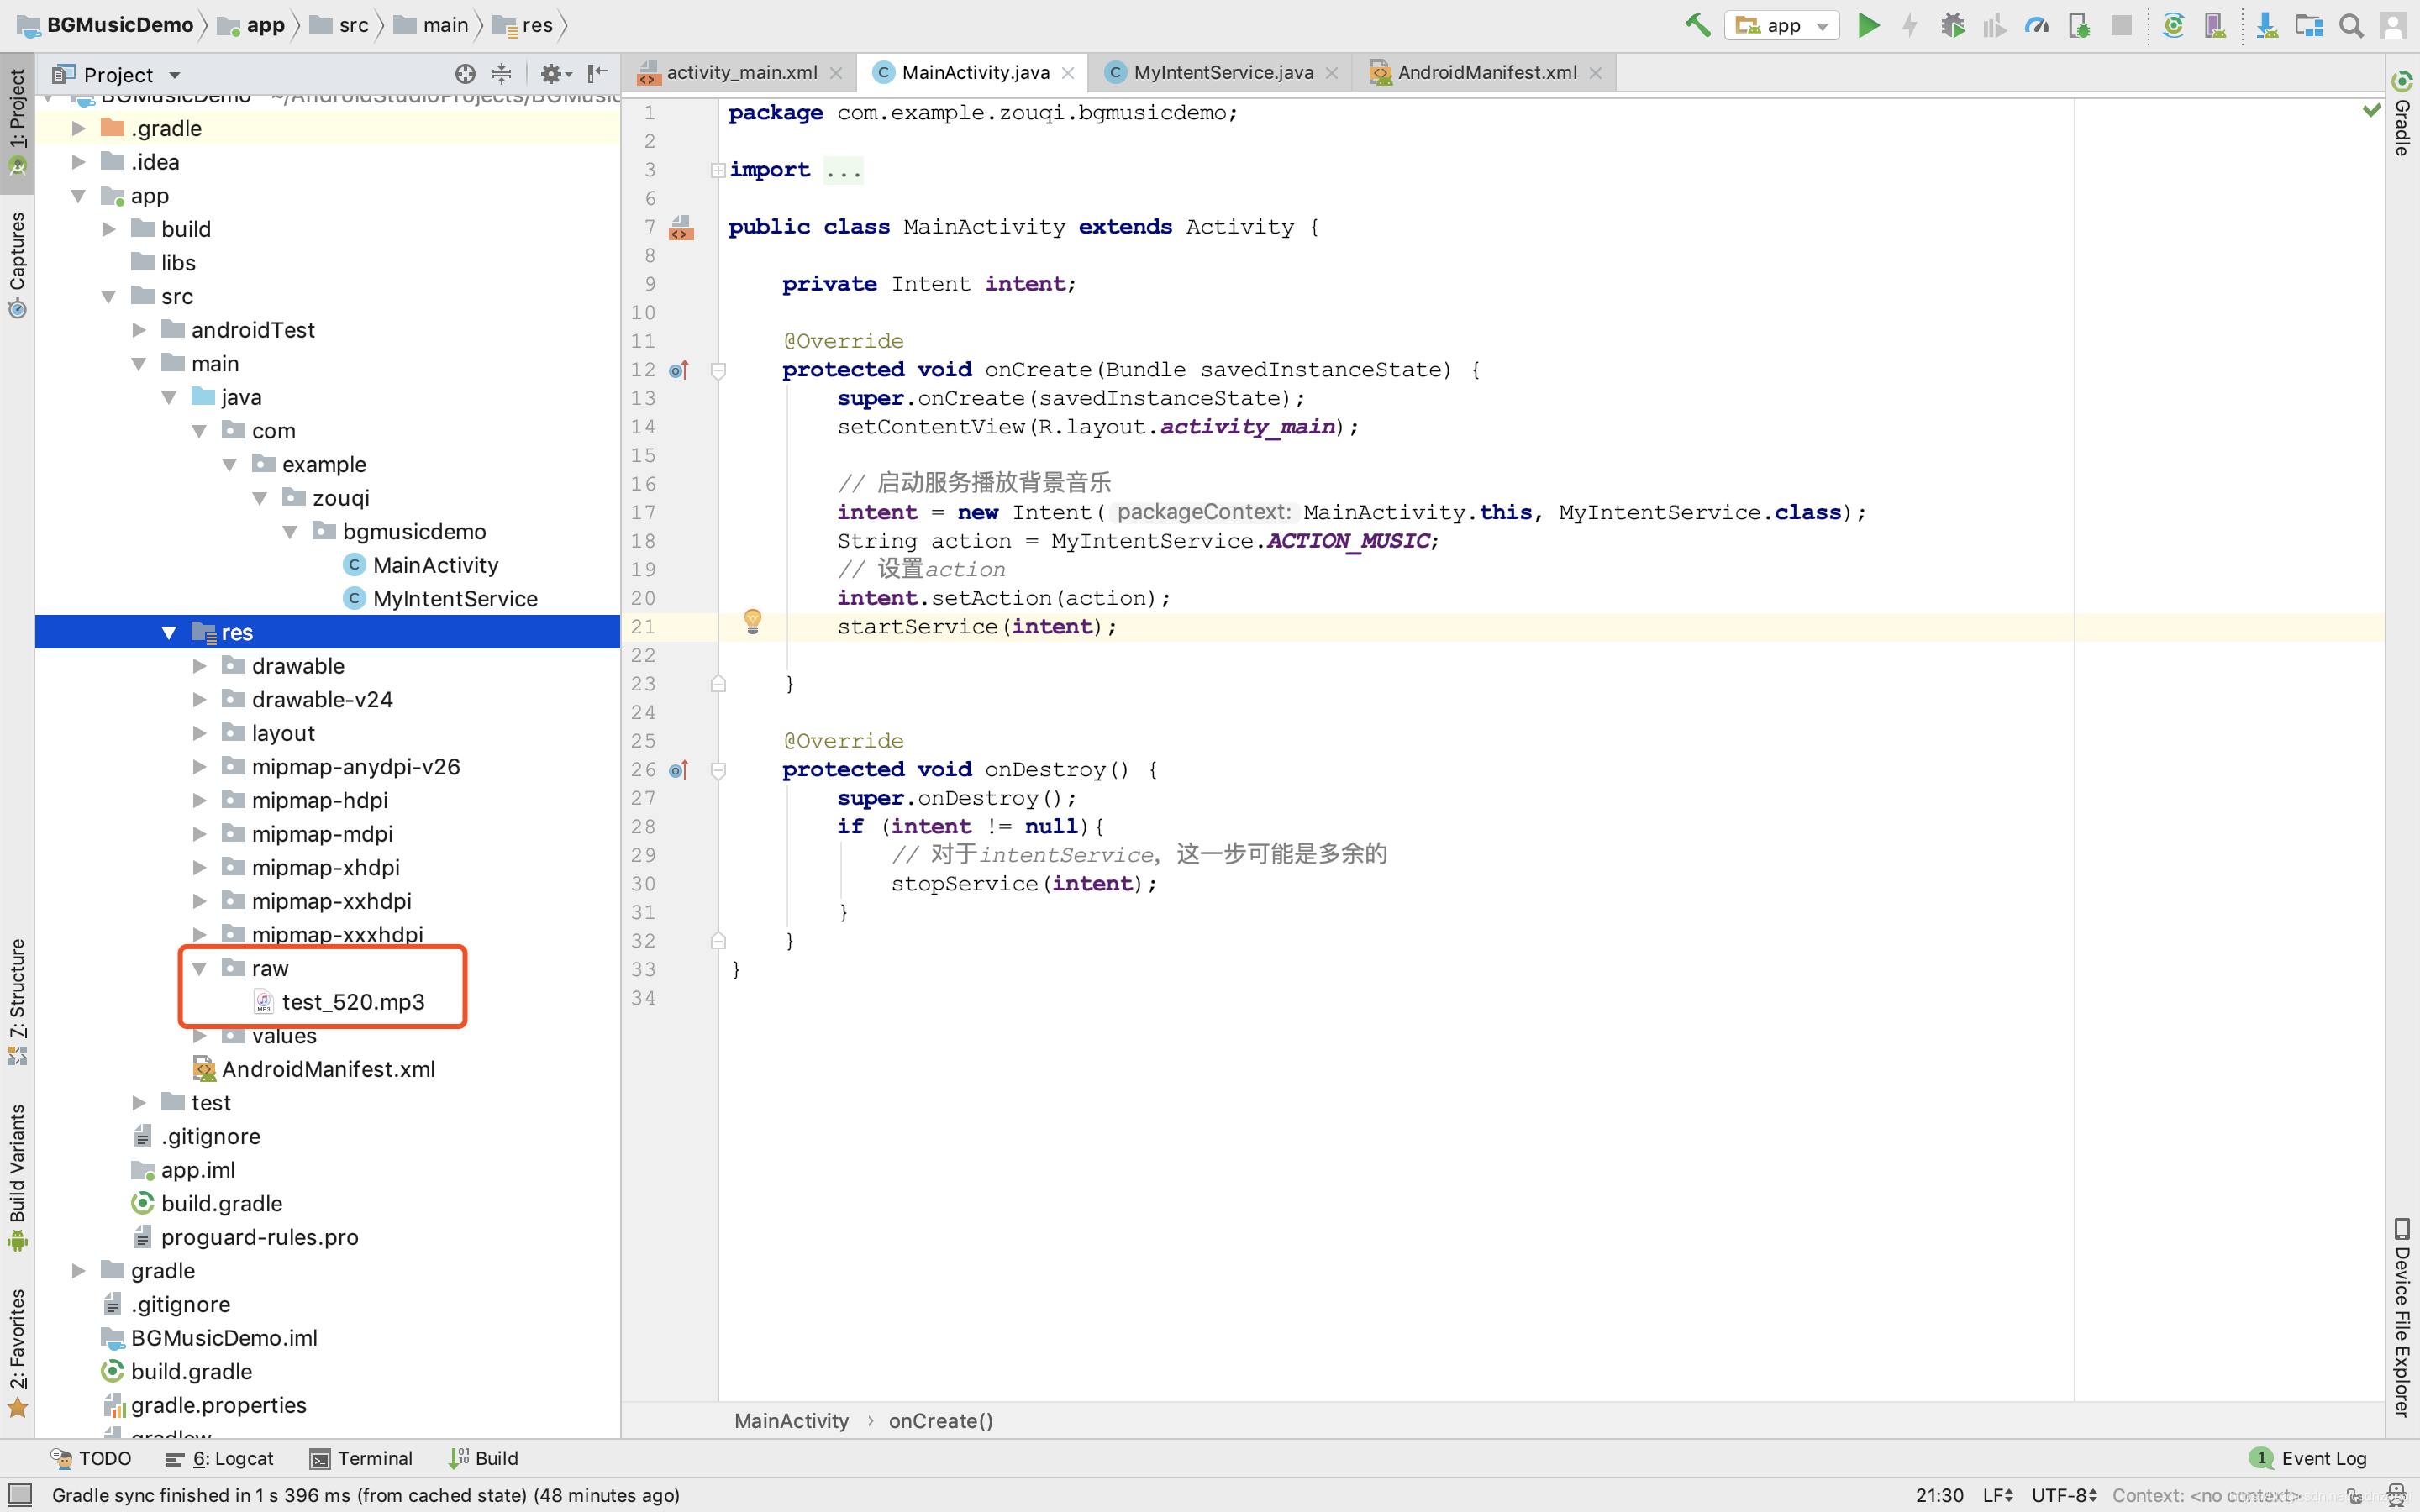
创建一个IntentService
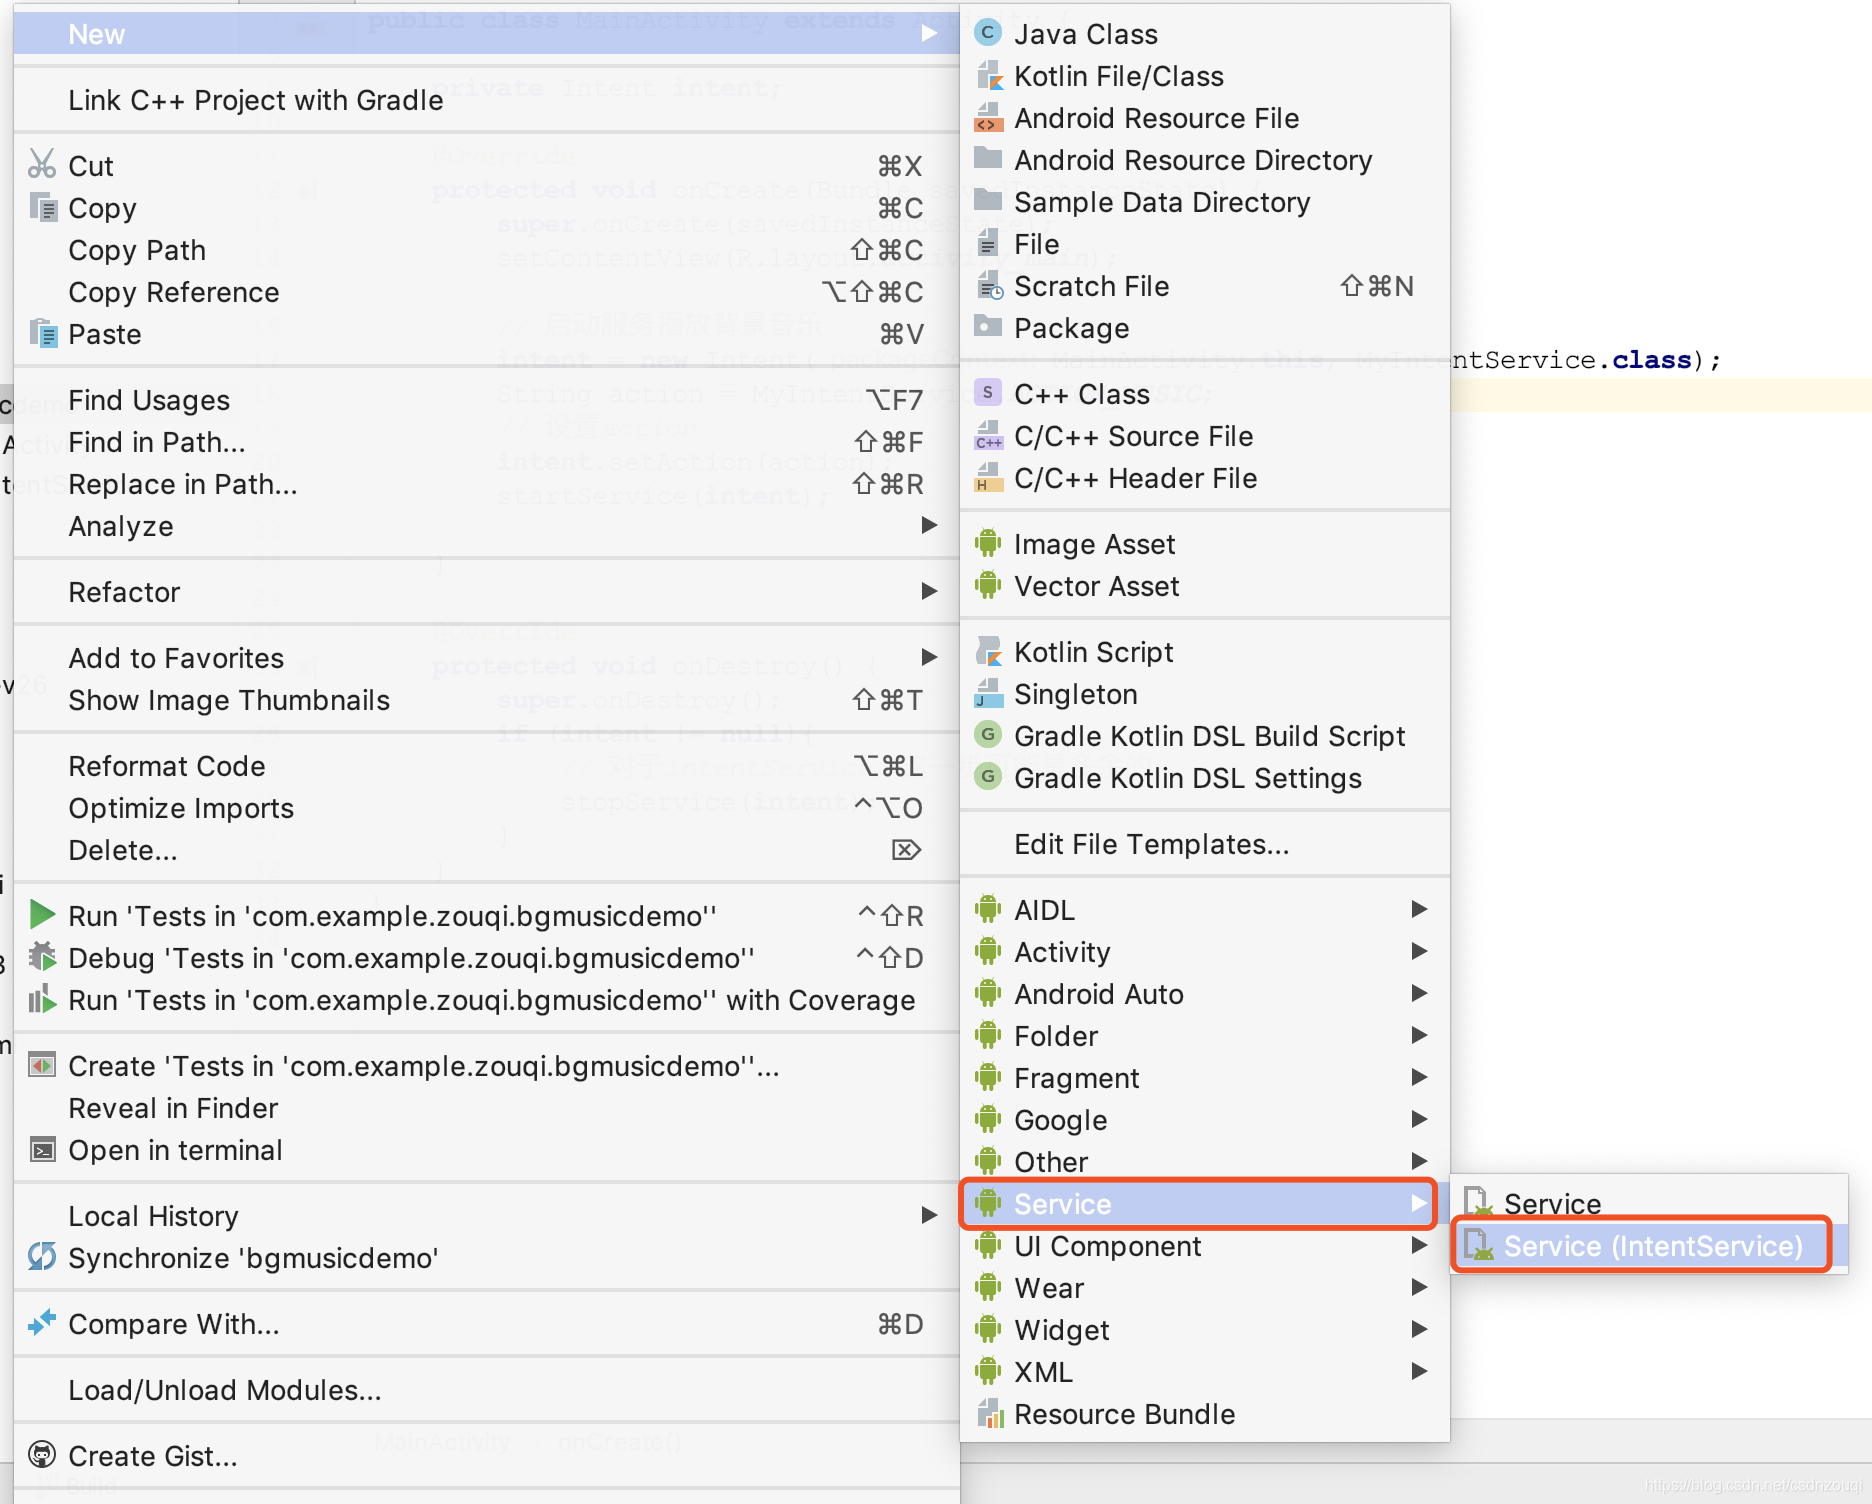
对于新建一个android项目我这里也不多讲。在新建好的项目对应代码所在包,点击右键New > Service > IntentService,如下图示:
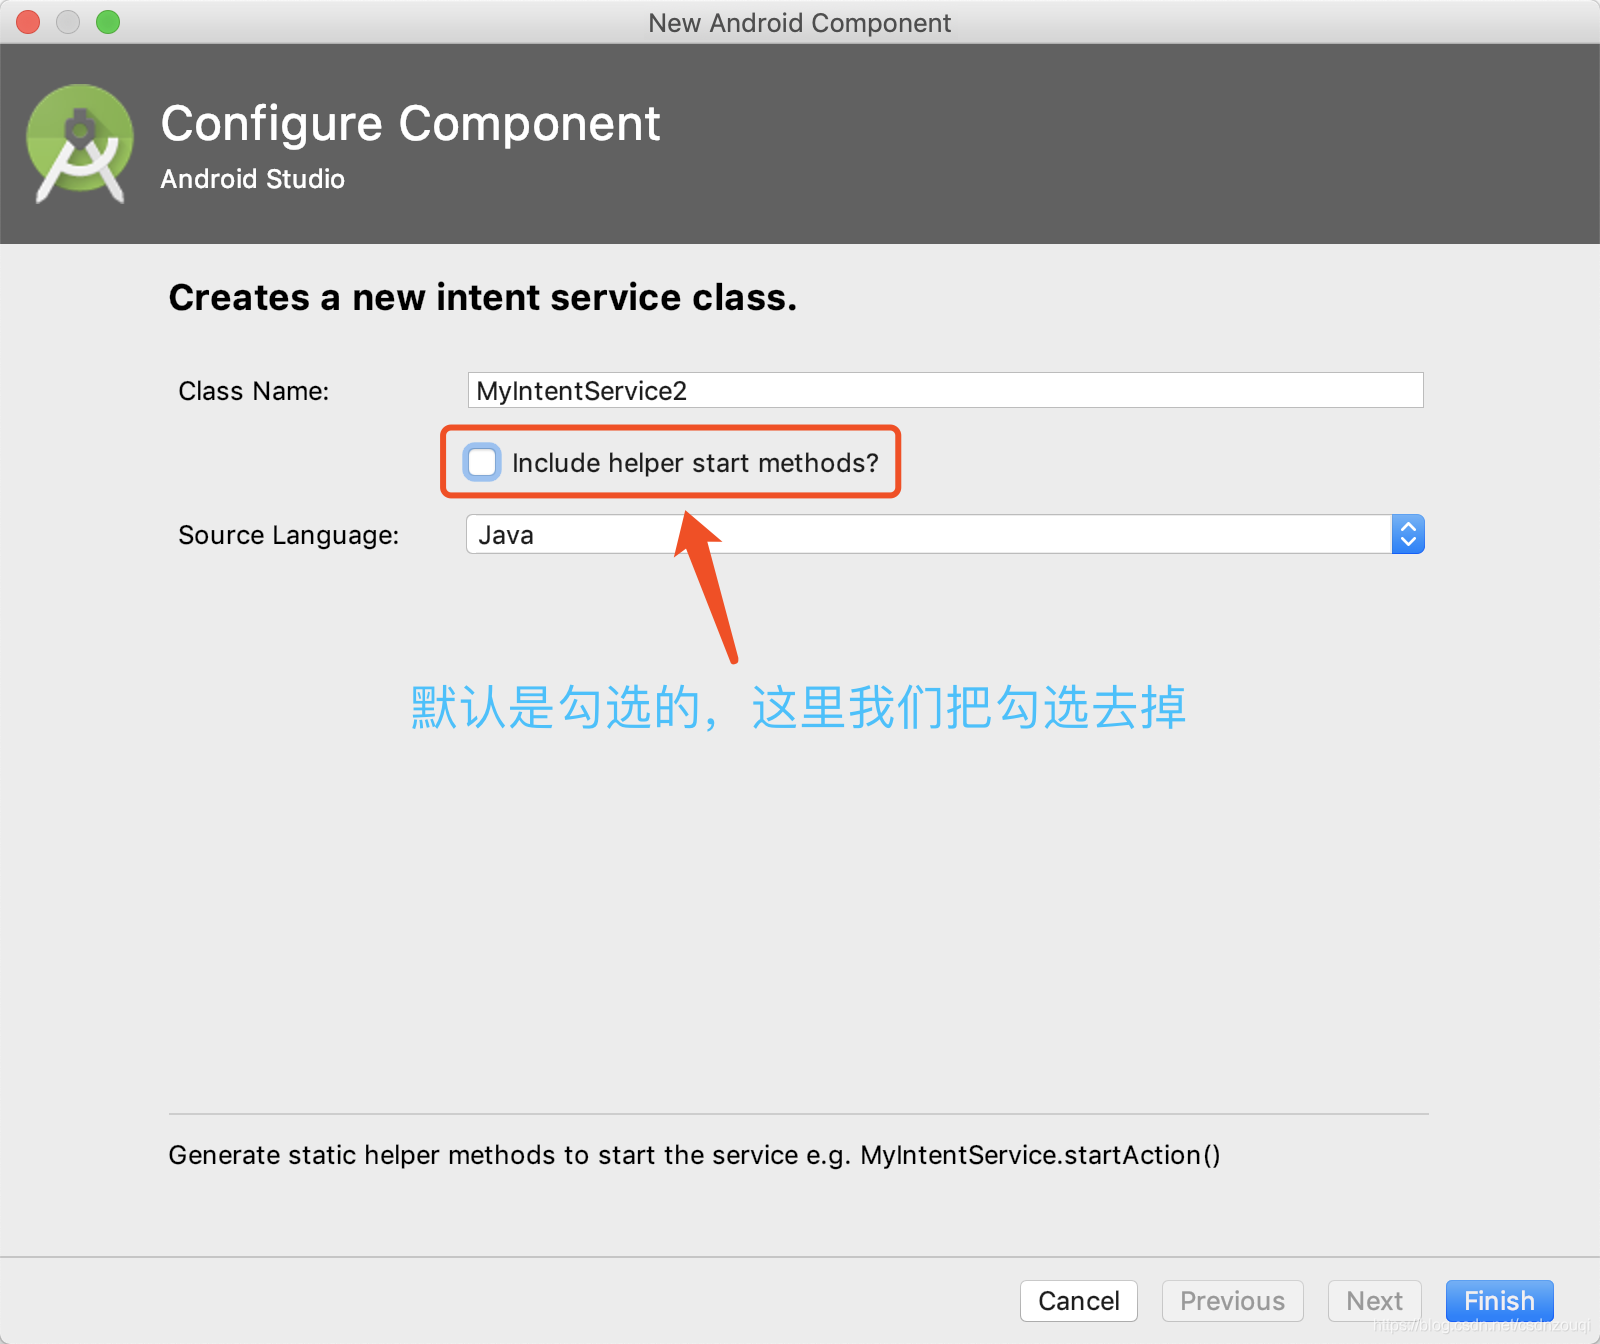
Finish ,会自己创建一个MyIntentService.java类,如图: 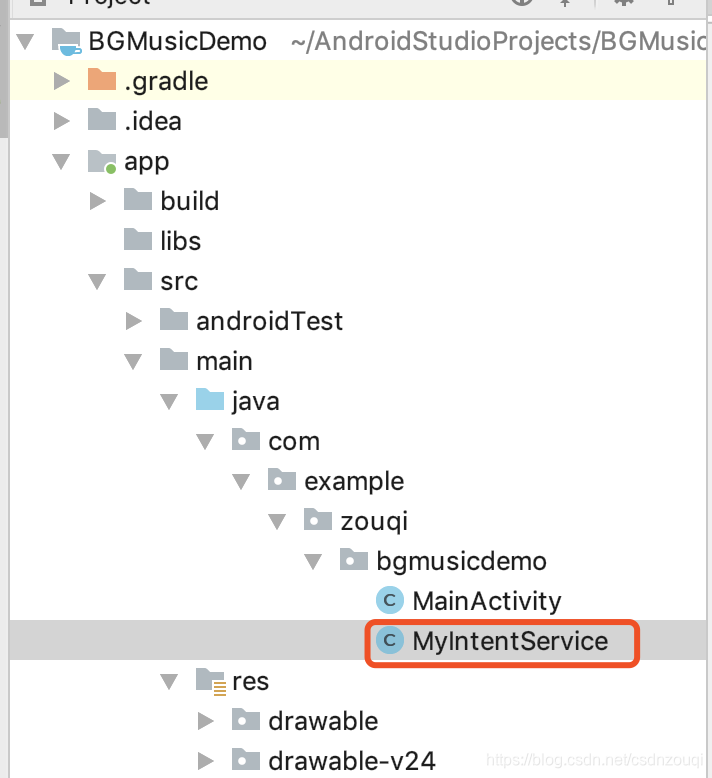
MyIntentService.java类中的代码如下: package com.example.zouqi.bgmusicdemo;import android.app.IntentService;import android.content.Intent;import android.media.MediaPlayer;import android.util.Log;/** * An {@link IntentService} subclass for handling asynchronous task requests in * a service on a separate handler thread. * * TODO: Customize class - update intent actions and extra parameters. */public class MyIntentService extends IntentService { // TODO: Rename actions, choose action names that describe tasks that this // IntentService can perform, e.g. ACTION_FETCH_NEW_ITEMS public static final String ACTION_FOO = "com.example.zouqi.bgmusicdemo.action.FOO"; public static final String ACTION_BAZ = "com.example.zouqi.bgmusicdemo.action.BAZ"; // action声明 public static final String ACTION_MUSIC = "com.example.zouqi.bgmusicdemo.action.music"; // TODO: Rename parameters public static final String EXTRA_PARAM1 = "com.example.zouqi.bgmusicdemo.extra.PARAM1"; public static final String EXTRA_PARAM2 = "com.example.zouqi.bgmusicdemo.extra.PARAM2"; // 声明MediaPlayer对象 private MediaPlayer mediaPlayer; public MyIntentService() { super("MyIntentService"); } @Override protected void onHandleIntent(Intent intent) { if (intent != null) { final String action = intent.getAction(); if (ACTION_FOO.equals(action)) { final String param1 = intent.getStringExtra(EXTRA_PARAM1); final String param2 = intent.getStringExtra(EXTRA_PARAM2); handleActionFoo(param1, param2); } else if (ACTION_BAZ.equals(action)) { final String param1 = intent.getStringExtra(EXTRA_PARAM1); final String param2 = intent.getStringExtra(EXTRA_PARAM2); handleActionBaz(param1, param2); } // 根据intent设置的action来执行对应服务的操作 if (ACTION_MUSIC.equals(action)){ handleActionMusic(); } } } /** * 该服务执行的操作用来播放背景音乐 */ private void handleActionMusic() { if (mediaPlayer == null){ // 根据音乐资源文件创建MediaPlayer对象 设置循环播放属性 开始播放 mediaPlayer = MediaPlayer.create(this, R.raw.test_520); mediaPlayer.setLooping(true); mediaPlayer.start(); } } /** * Handle action Foo in the provided background thread with the provided * parameters. */ private void handleActionFoo(String param1, String param2) { // TODO: Handle action Foo throw new UnsupportedOperationException("Not yet implemented"); } /** * Handle action Baz in the provided background thread with the provided * parameters. */ private void handleActionBaz(String param1, String param2) { // TODO: Handle action Baz throw new UnsupportedOperationException("Not yet implemented"); }}
代码中除去原来创建类时就自带的对应方法外,我自己写的方法都写了对应的中文注释,理解起来简单,这里不详细说明了。
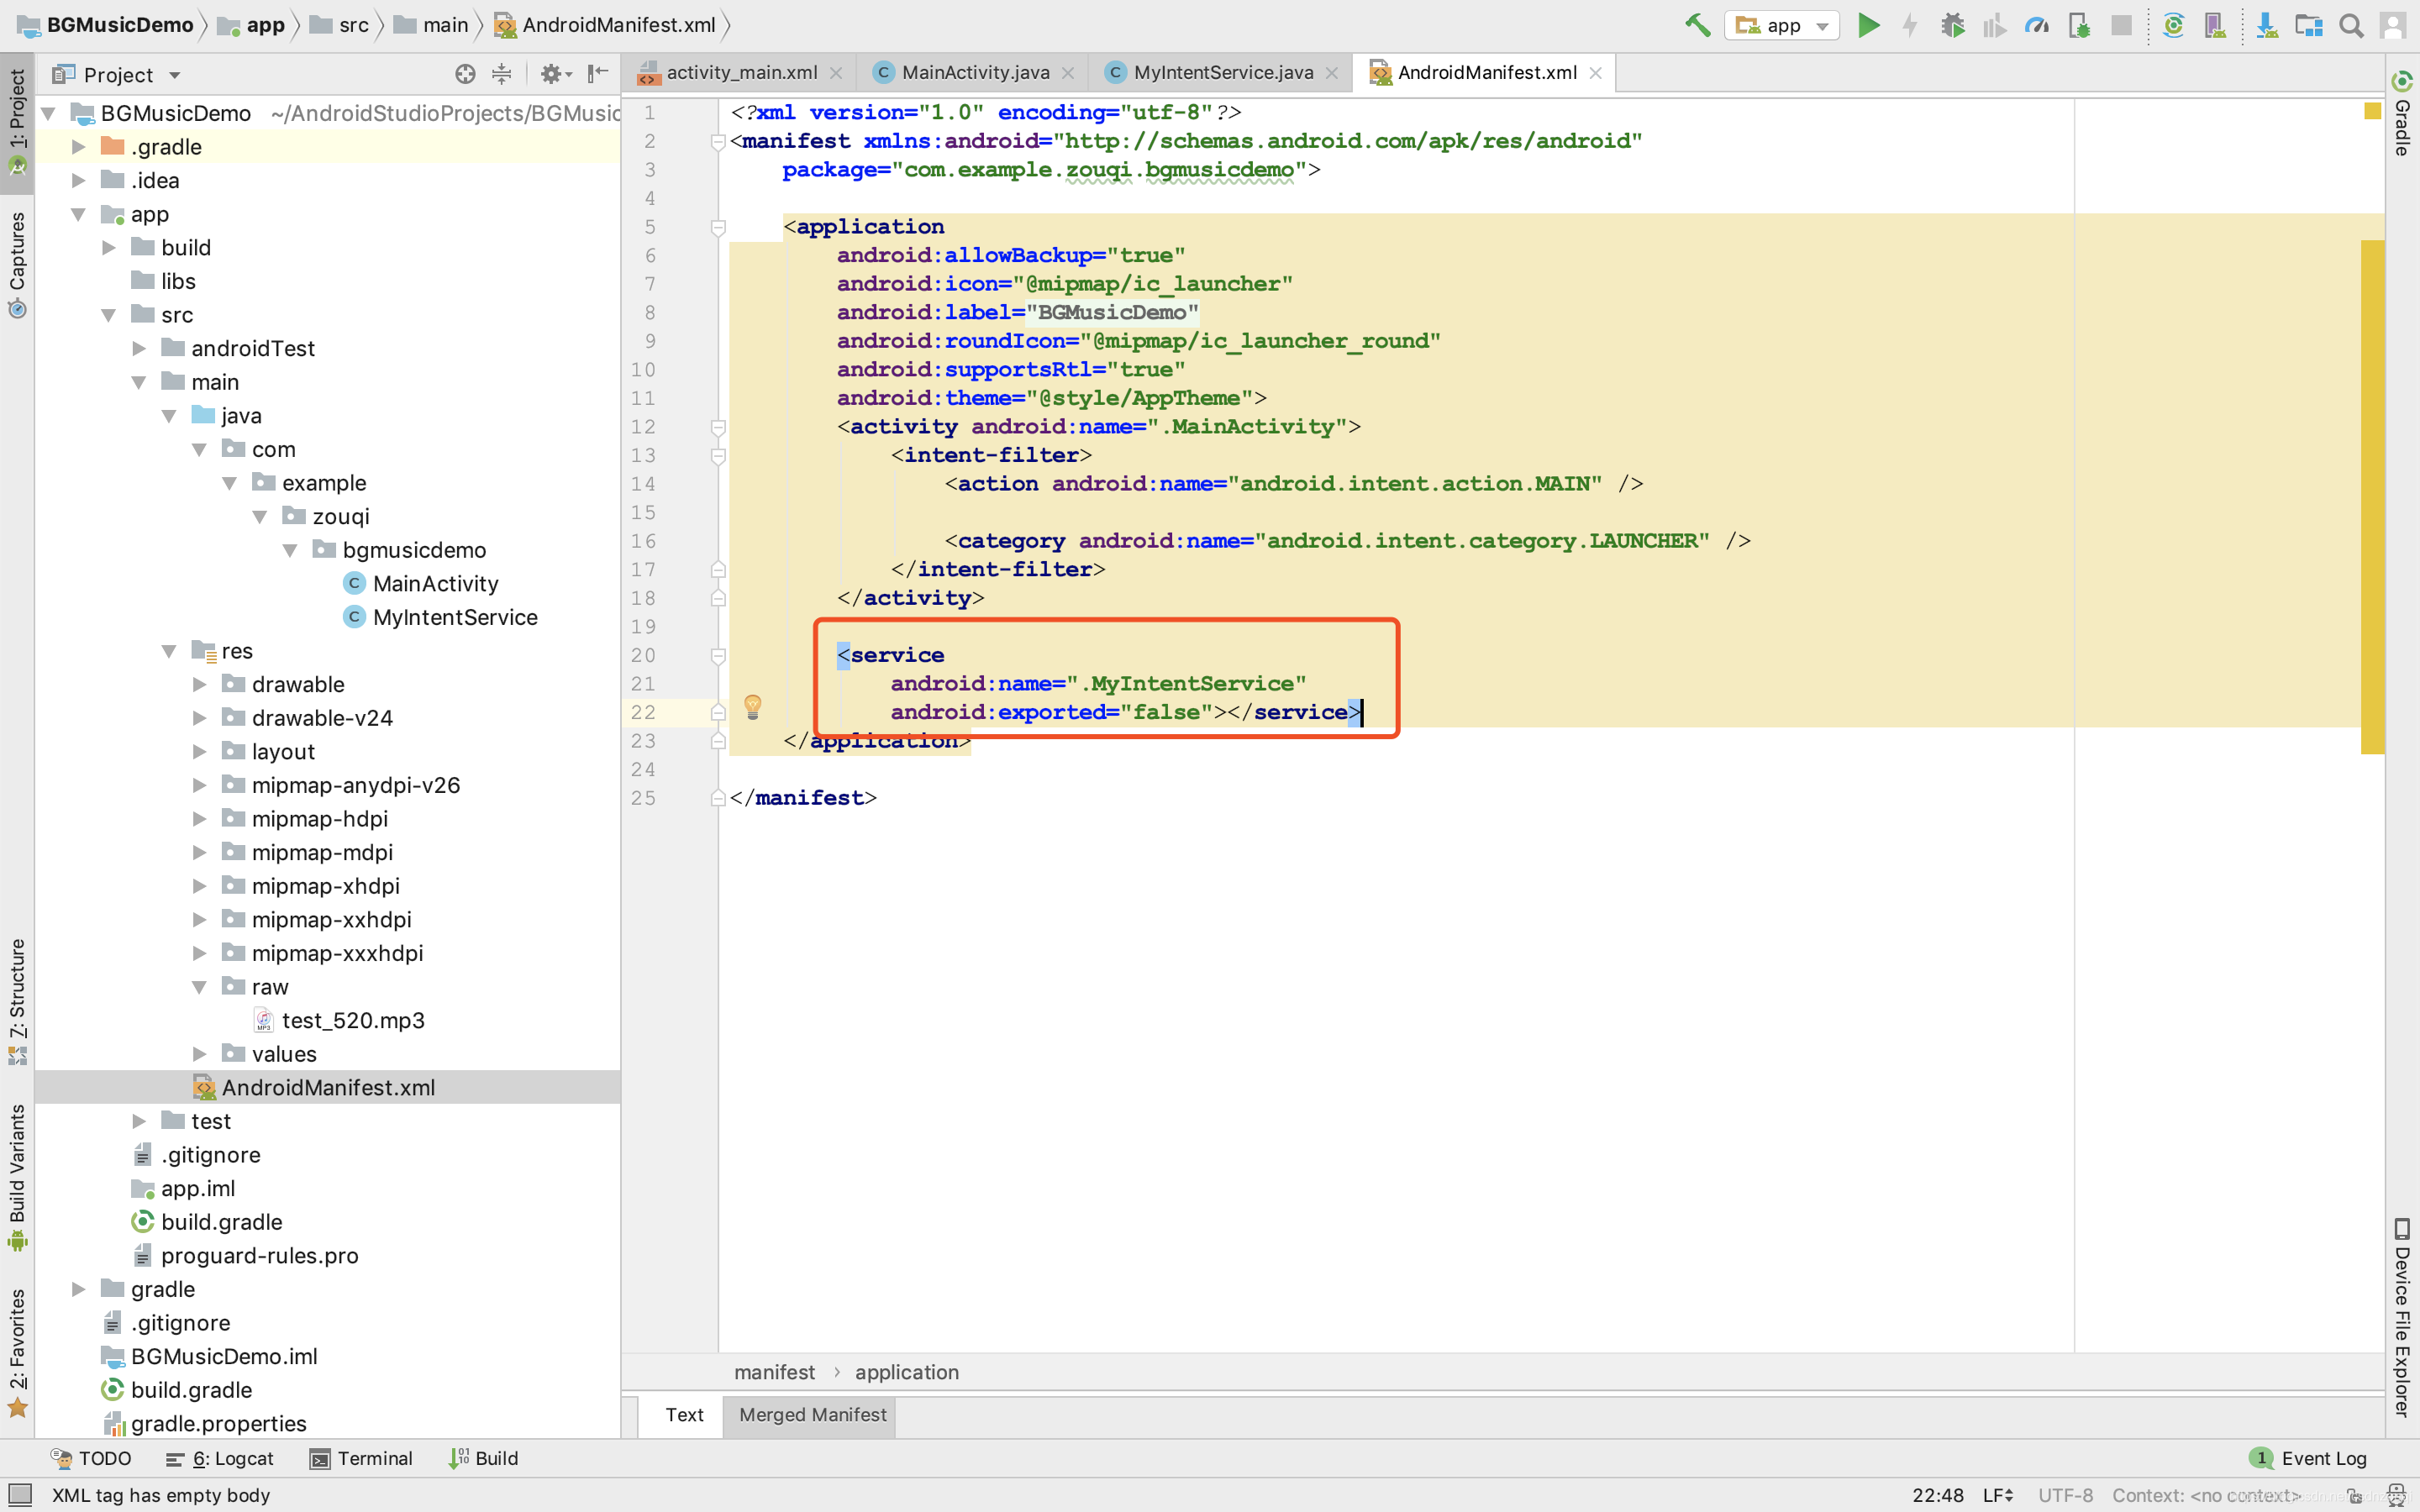
有的同学习惯自己新建一个服务类,不用工具中的创建服务的选项来创建服务类。那么这时候你自己还需要去清单配置文件中配置这个服务类。
因为我用的是工具创建服务的选项创建的服务,所以清单配置中自动给配置了。如图:
在MainActivity中启动服务
MainActivity.java类代码如下:
package com.example.zouqi.bgmusicdemo;import android.app.Activity;import android.content.Intent;import android.os.Bundle;public class MainActivity extends Activity { private Intent intent; @Override protected void onCreate(Bundle savedInstanceState) { super.onCreate(savedInstanceState); setContentView(R.layout.activity_main); // 启动服务播放背景音乐 intent = new Intent(MainActivity.this, MyIntentService.class); String action = MyIntentService.ACTION_MUSIC; // 设置action intent.setAction(action); startService(intent); } @Override protected void onDestroy() { super.onDestroy(); if (intent != null){ // 对于intentService,这一步可能是多余的 stopService(intent); } }} 注释依旧详细(无须过多说明)。
Demo体验
给出我百度网盘的,感兴趣的同学可以去下载体验一下,很好听的一首歌哦!
A little bit of progress every day!Come on!
转载地址:https://imxiaoqi.blog.csdn.net/article/details/90904566 如侵犯您的版权,请留言回复原文章的地址,我们会给您删除此文章,给您带来不便请您谅解!
发表评论
最新留言
关于作者
