可能是全网最全的SpringBoot启动流程源码分析(基于 2.1.5 版本)


发布日期:2021-06-30 12:24:37
浏览次数:3
分类:技术文章
本文共 3212 字,大约阅读时间需要 10 分钟。
使用 Spring Boot 启动一个微服务十分简单,只需要在启动类上调用 SpringApplication 的run方法即可
点击进入run方法
1 run
静态辅助类,可用于运行使用默认配置(即我们添加的一系列注解)的指定源的 SpringApplication 。
- primarySource - 要载入的主要源,即指定源,这里为传入的
Application.classClass<?> :泛型决定了任何类都可以传入 - args - 应用程序参数(通常是从main方法传递)
- 返回:正在运行的ApplicationContext

上面是 SpringApplication实例对象构造方法初始化过程
public ConfigurableApplicationContext run(String... args) { // 1 创建并启动计时监控类 StopWatch stopWatch = new StopWatch(); stopWatch.start(); // 2 初始化应用上下文和异常报告集合 ConfigurableApplicationContext context = null; Collection exceptionReporters = new ArrayList<>(); // 3 设置系统属性 java.awt.headless 的值,默认为true configureHeadlessProperty(); // 4、创建所有 Spring 运行监听器并发布应用启动事件 SpringApplicationRunListeners listeners = getRunListeners(args); listeners.starting(); try { // 5、初始化默认应用参数类 ApplicationArguments applicationArguments = new DefaultApplicationArguments( args); // 6、根据运行监听器和应用参数来准备 Spring 环境 ConfigurableEnvironment environment = prepareEnvironment(listeners, applicationArguments); configureIgnoreBeanInfo(environment); // 7、创建 Banner 打印类 Banner printedBanner = printBanner(environment); // 8、创建应用上下文 context = createApplicationContext(); // 9、准备异常报告器 exceptionReporters = getSpringFactoriesInstances( SpringBootExceptionReporter.class, new Class[] { ConfigurableApplicationContext.class }, context); // 10、准备应用上下文 prepareContext(context, environment, listeners, applicationArguments, printedBanner); // 11、刷新应用上下文 refreshContext(context); // 12、应用上下文刷新后置处理 afterRefresh(context, applicationArguments); // 13、停止计时监控类 stopWatch.stop(); // 14、输出日志记录执行主类名、时间信息 if (this.logStartupInfo) { new StartupInfoLogger(this.mainApplicationClass) .logStarted(getApplicationLog(), stopWatch); } // 15、发布应用上下文启动完成事件 listeners.started(context); // 16、执行所有 Runner 运行器 callRunners(context, applicationArguments); } catch (Throwable ex) { handleRunFailure(context, ex, exceptionReporters, listeners); throw new IllegalStateException(ex); } try { // 17、发布应用上下文就绪事件 listeners.running(context); } catch (Throwable ex) { handleRunFailure(context, ex, exceptionReporters, null); throw new IllegalStateException(ex); } // 18、返回应用上下文 return context;} 1 创建并启动计时监控类
- 类概述
- 首先记录了当前任务的名称,默认为空串,然后记录当前 Spring Boot 应用启动的开始时间
设置系统属性 java.awt.headless 的值
对于一个 Java 服务器来说经常要处理一些图形元素,例如地图的创建或者图形和图表等。这些API基本上总是需要运行一个X-server以便能使用AWT(Abstract Window Toolkit,抽象窗口工具集)。然而运行一个不必要的 X-server 并不是一种好的管理方式。有时你甚至不能运行 X-server,因此最好的方案是运行 headless 服务器,来进行简单的图像处理。
参考:
创建所有 Spring 运行监听器并发布应用启动事件
调用getSpringFactoriesInstances 来获取配置的监听器名称并实例化所有的类
SpringApplicationRunListener所有监听器配置在spring-boot-2.0.3.RELEASE.jar!/META-INF/spring.factories这个配置文件里面。
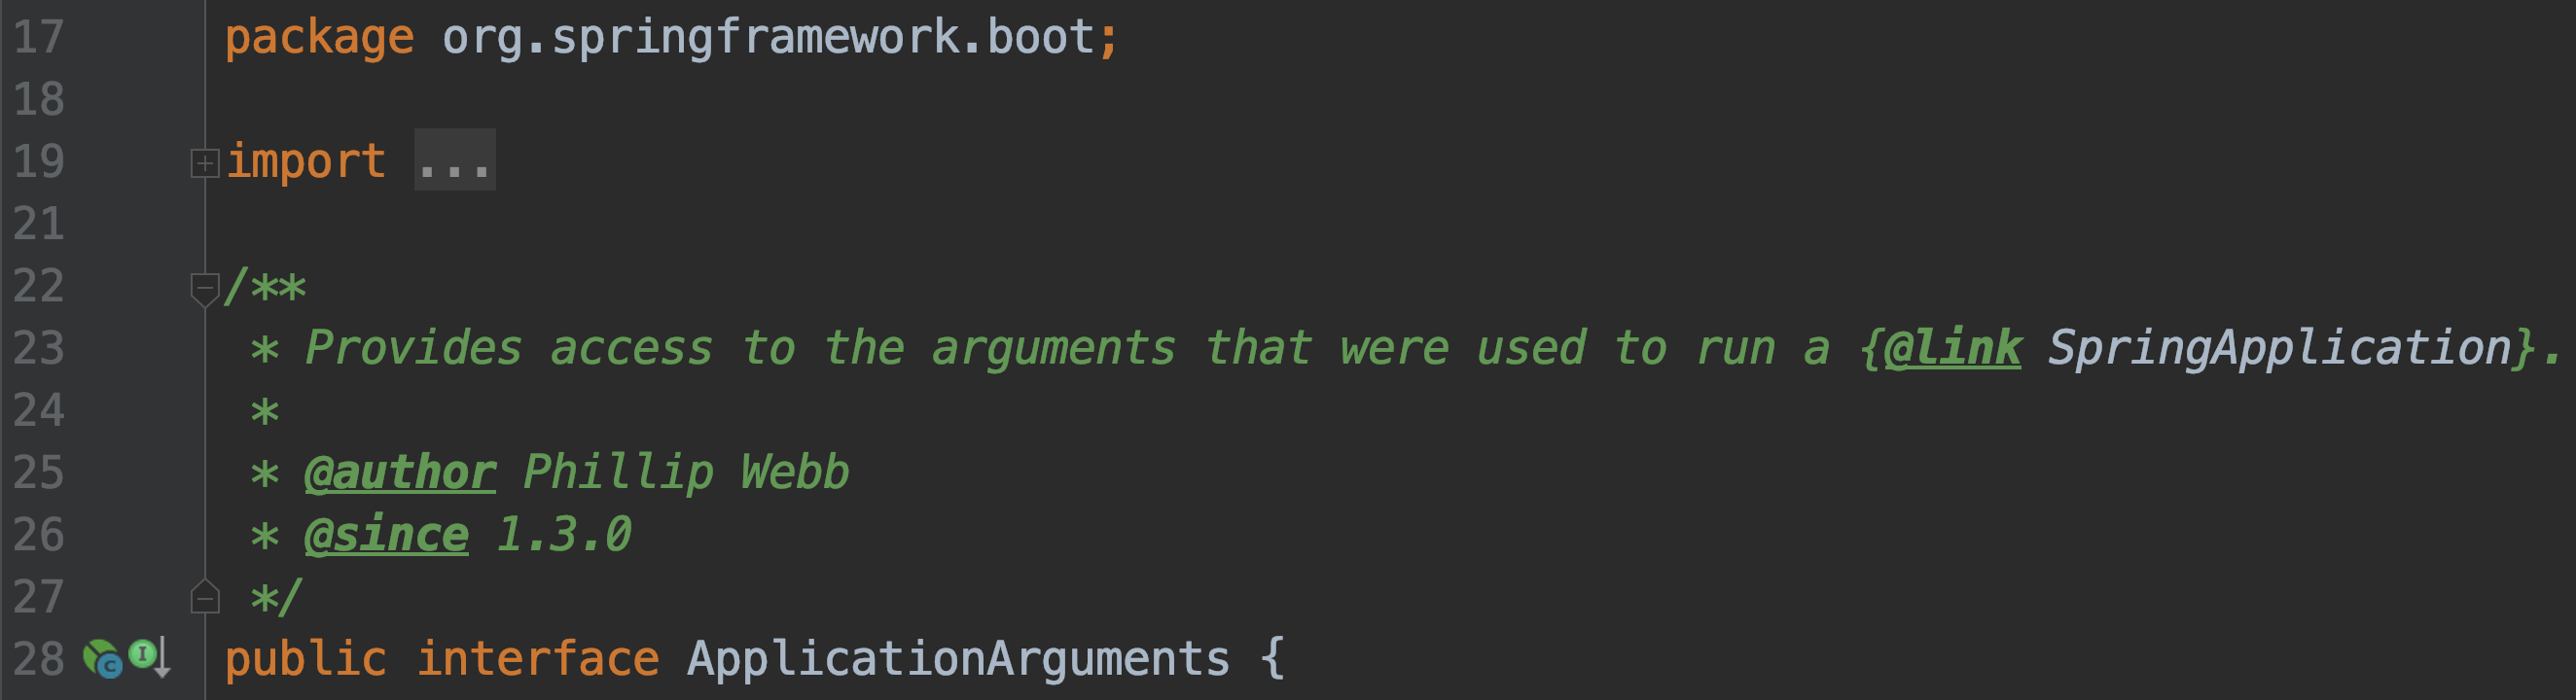
初始化默认应用参数类
转载地址:https://javaedge.blog.csdn.net/article/details/105755279 如侵犯您的版权,请留言回复原文章的地址,我们会给您删除此文章,给您带来不便请您谅解!
发表评论
最新留言
关注你微信了!
[***.104.42.241]2024年04月08日 22时23分22秒
关于作者

喝酒易醉,品茶养心,人生如梦,品茶悟道,何以解忧?唯有杜康!
-- 愿君每日到此一游!
推荐文章
缓冲区分片
2019-05-01
只读缓冲区
2019-05-01
直接缓冲区
2019-05-01
用户认证-什么是认证
2019-05-01
用户认证-什么是会话
2019-05-01
什么是授权
2019-05-01
分布式认证需求-统一认证授权
2019-05-01
分布式认证需求-开放认证体系
2019-05-01
分布式认证方案-基于session的认证方式
2019-05-01
分布式认证方案-基于token的认证方式
2019-05-01
分布式认证-技术方案
2019-05-01
OAuth2.0介绍
2019-05-01
C/C++包管理工具Conan简介
2019-05-01
Ubuntu20.04 配置 ASRT 虚拟环境
2019-05-01
OAauth2.0包括以下角
2019-05-01
内存映射
2019-05-01
选择器Selector
2019-05-01
通道Channel
2019-05-01
通道Channel-使用NIO 读取数据
2019-05-01
通道Channel-使用NIO 写入数据
2019-05-01
白红宇的个人博客 - 记录点点滴滴的事 - 您是第 311303655 位访客
访问时间: 2024-05-06 07:01:46
访问IP: 18.216.230.107
Copyright © 2020 - 2023 blog.css8.cn 京ICP备2021015314号-1
手机版