本文共 4209 字,大约阅读时间需要 14 分钟。
提高效率
一张图片的分辨率,小点的有 50x50=2500 个像素,大的则有 1920*1080=2073600 个像素。
而且 Python 操作 Excel,逐个的给 Excel 单元格上色,还是比较慢的,所以一张图片也需要比较多的时间去完成像素画。如果有一批图片需要处理,那速度就会特别的慢。
本节内容就来介绍下,如何高效的生成大量的像素画。
说到高效,肯定和电脑性能有关。但是提高性能是最后的办法。
提高效率,还有就是电脑的线程。毕竟电脑都是多核心多线程,而且 Python 默认是单线程的,所以提高效率,第一步是使用线程。
封装成函数
首先,将我们前面写好的脚本代码,封装成函数,只需要传入图片路径,直接生成对应的 xlsx 文件,且函数方便调用,易于管理。如下代码:
import xlsxwriterfrom PIL import Imageimport osfrom concurrent import futuresdef paint_excel(filename): print("开始处理{}".format(filename)) wb = xlsxwriter.Workbook(filename+'.xlsx') ws = wb.add_worksheet('sheet1') img = Image.open(filename) imgL = img.convert("P").convert("RGB") pix = imgL.load() w, h = imgL.size def RGB_to_Hex(tmp): rgb = list(tmp) strs = '#' for i in rgb: num = int(i) strs += str(hex(num))[-2:].replace('x','0').upper() return strs for i in range(w): for j in range(h): rgb = pix[i,j] color = RGB_to_Hex(rgb) style = wb.add_format({ 'bg_color': '{}'.format(color)}) ws.write(j,i,'',style) ws.set_row(j,1) ws.set_column(0,w-1,0.5) wb.close() print("处理完成,文件名{}".format(filename),'\n') 封装的函数,接收一个图片路径,然后生成对应的 xlsx 文件,没有返回值。
单线程处理图片集
那图片的位置,是在和这个代码文件同一个目录中,如下截图:
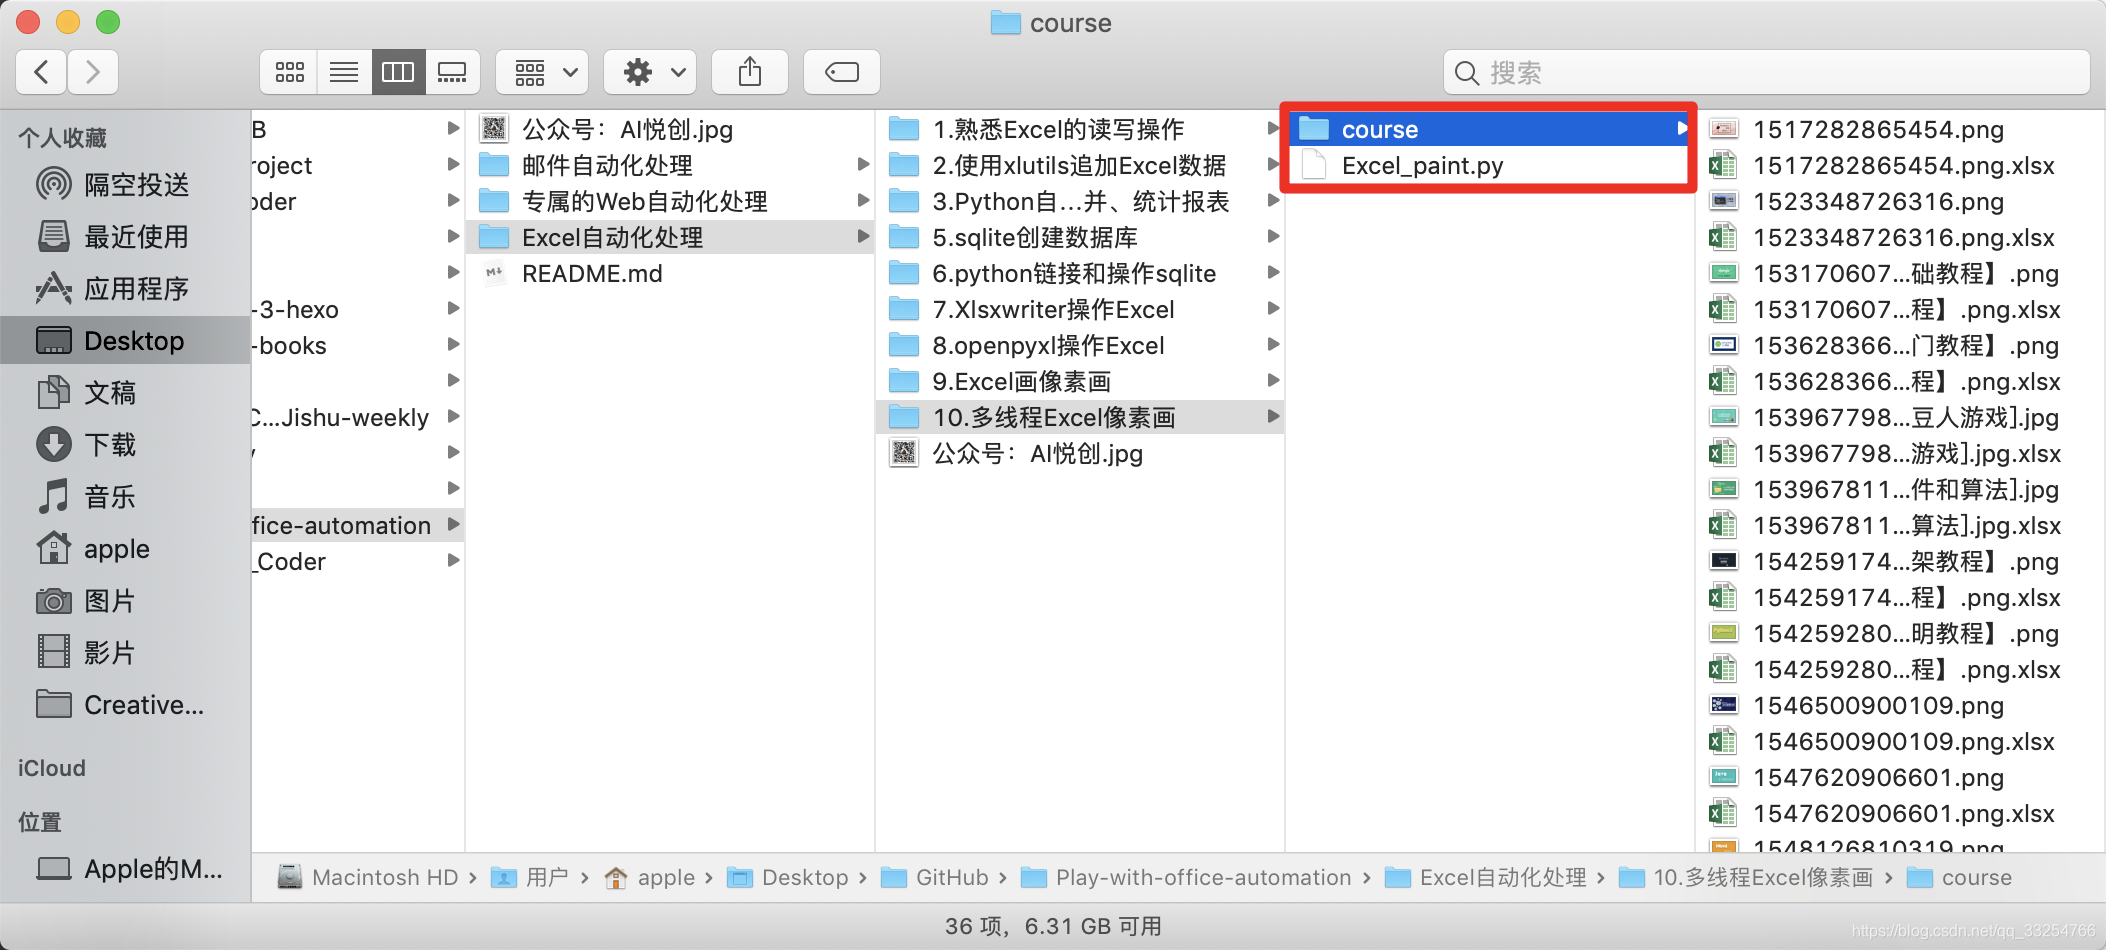
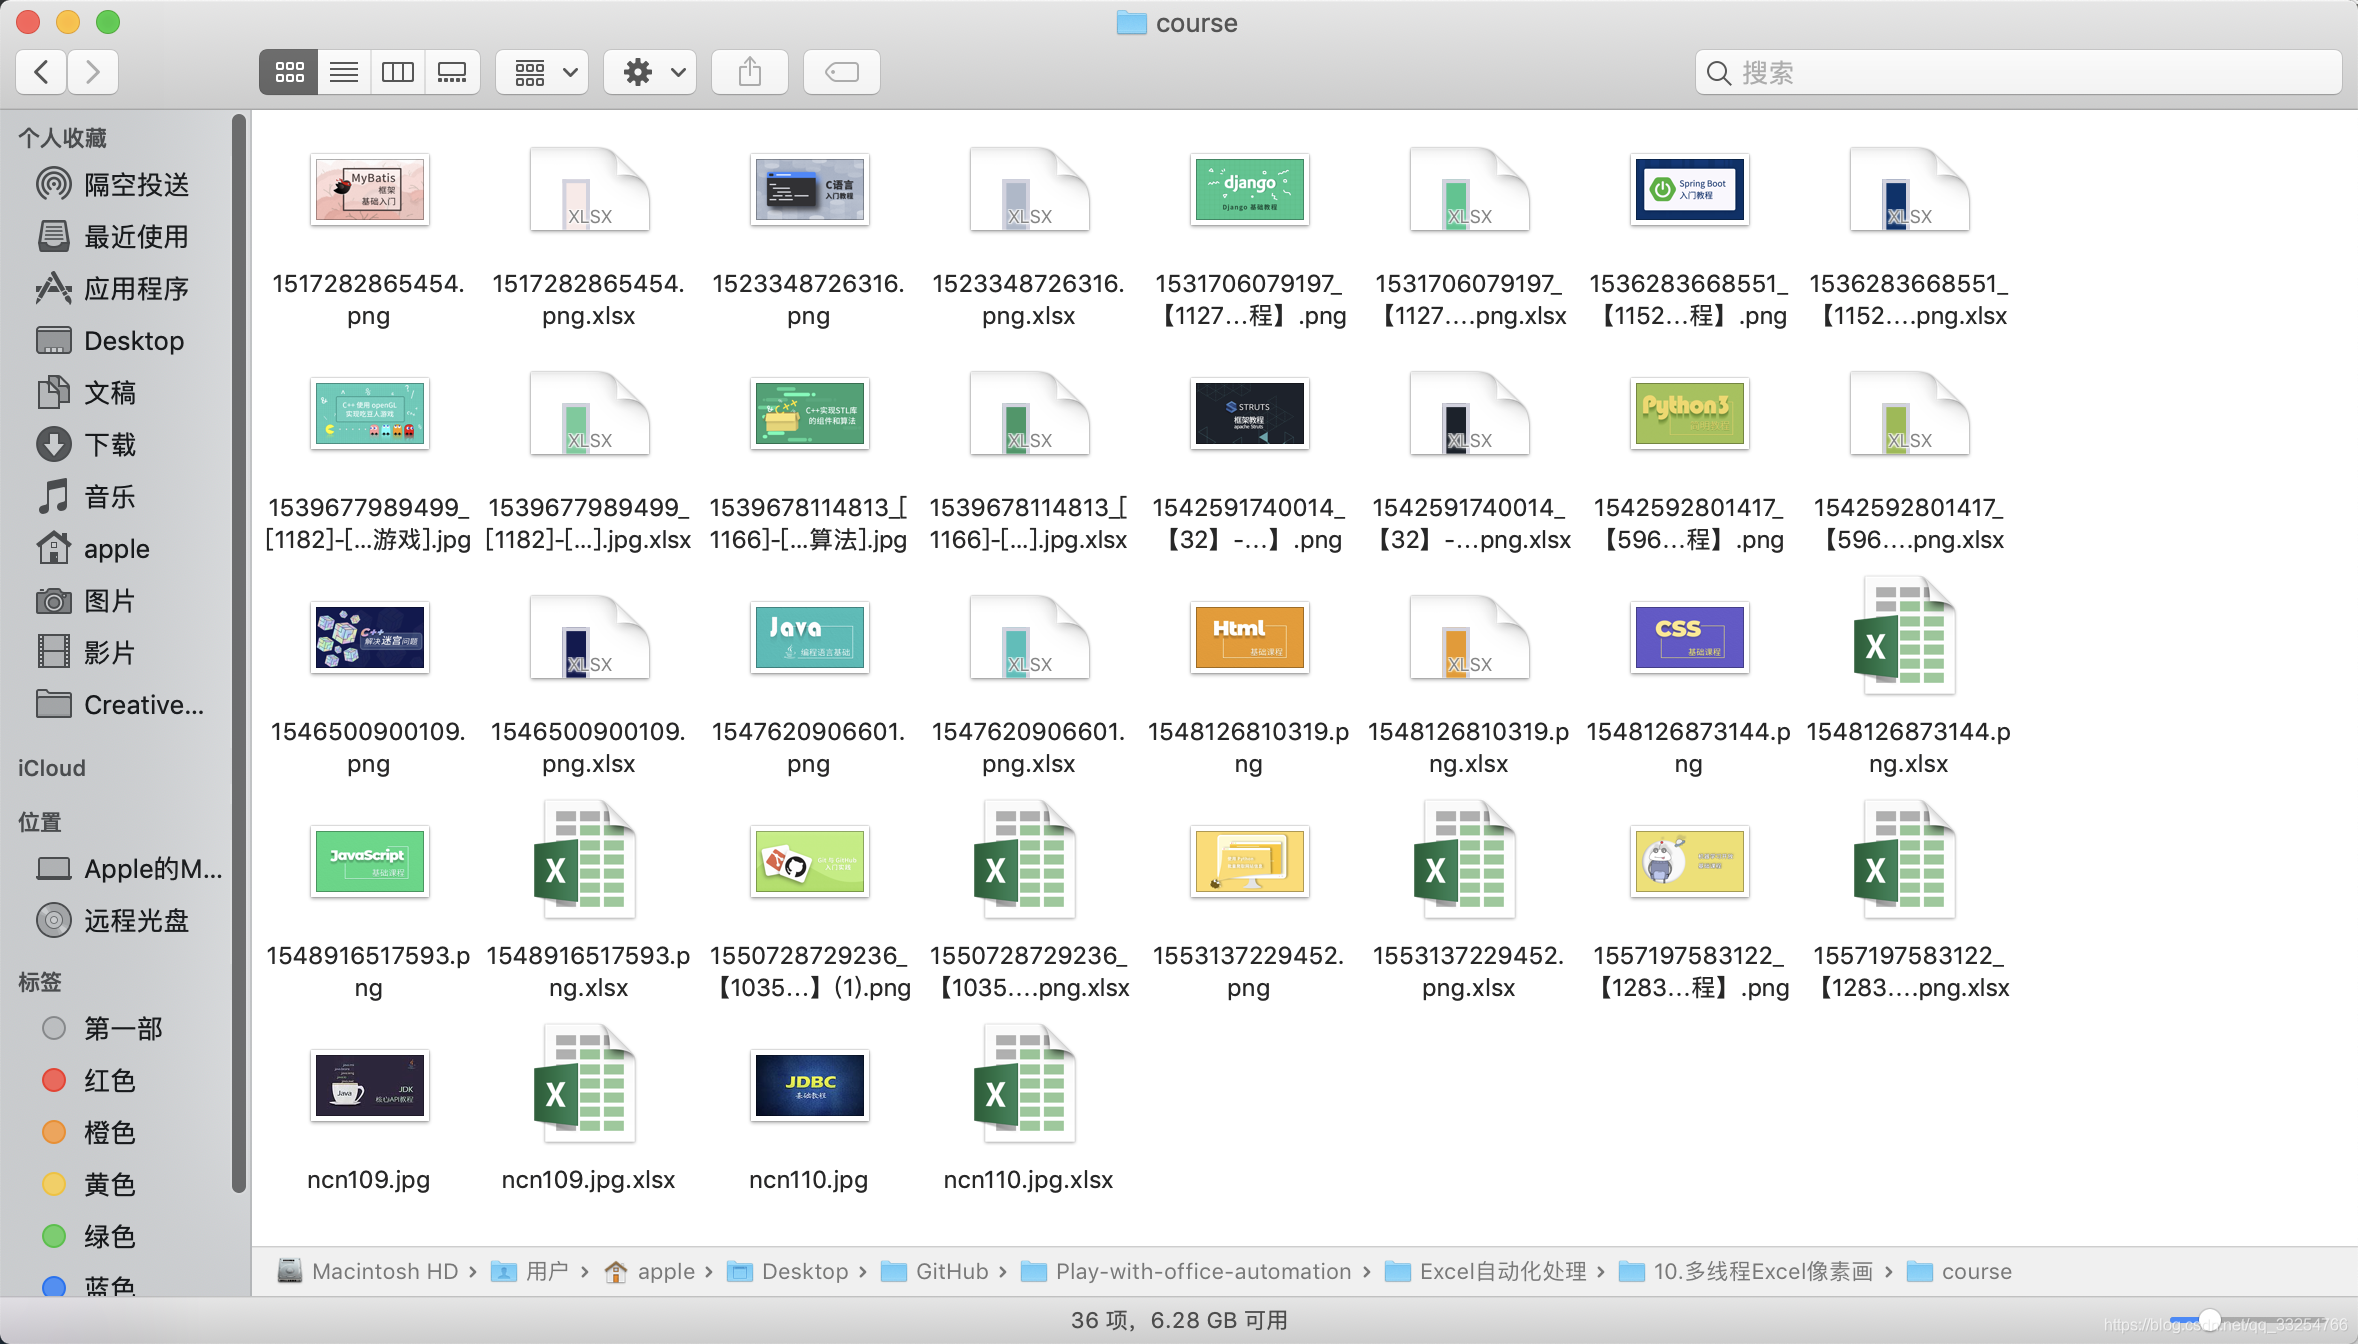
然后使用 python 的 os 库,取出 course 目录中的全部图片,将图片名和路径全部拼接,得到图片的绝对路径,然后逐个的调用函数,就可以得到单线程版本的批量生成像素图程序了。如下代码:
import xlsxwriterfrom PIL import Imageimport osdef paint_excel(filename): print("开始处理{}".format(filename)) wb = xlsxwriter.Workbook(filename+'.xlsx') ws = wb.add_worksheet('sheet1') img = Image.open(filename) imgL = img.convert("P").convert("RGB") pix = imgL.load() w, h = imgL.size def RGB_to_Hex(tmp): rgb = list(tmp) strs = '#' for i in rgb: num = int(i) strs += str(hex(num))[-2:].replace('x','0').upper() return strs for i in range(w): for j in range(h): rgb = pix[i,j] color = RGB_to_Hex(rgb) style = wb.add_format({ 'bg_color': '{}'.format(color)}) ws.write(j,i,'',style) ws.set_row(j,1) ws.set_column(0,w-1,0.5) wb.close() print("处理完成,文件名{}".format(filename),'\n')if __name__ == "__main__": path = os.getcwd()+'\course' # 单线程 for filename in os.listdir('./course'): full_path_filename = os.path.join(path,filename) print(full_path_filename) paint_excel(full_path_filename) 测试可以正常工作,没有什么问题,如下图:
但是有个问题,单线程效率低,速度慢,花时间。那就准备介入多线程吧。
多线程的使用示例
多线程操作,使用 python 的 concurrent 库,这是官方的,基于 threading 封装,使用更方便。先导入库
from concurrent import futures
导入之后,看下使用示例:
tasklist = [1,2,3,4,5]with futures.ThreadPoolExecutor(50) as executor: executor.map(函数, tasklist)
这是使用示例,创建 50 个线程,然后通过高阶函数 map,将任务 tasklist 全部丢给工作函数,等待他们执行完即可。
50 这个数值是自己新建的,如果只有 5 个任务,也就不需要 50 个,5 个就够。所以这个数值,可以按照图片个数或者一半来指定并发数。
多线程加速生成像素画
最后完成的代码如下:
# coding: utf-8import xlsxwriterfrom PIL import Imageimport osfrom concurrent import futuresdef paint_excel(filename): print("开始处理{}".format(filename)) wb = xlsxwriter.Workbook(filename+'.xlsx') ws = wb.add_worksheet('sheet1') img = Image.open(filename) imgL = img.convert("P").convert("RGB") pix = imgL.load() w, h = imgL.size def RGB_to_Hex(tmp): rgb = list(tmp) strs = '#' for i in rgb: num = int(i) strs += str(hex(num))[-2:].replace('x','0').upper() return strs for i in range(w): for j in range(h): rgb = pix[i,j] color = RGB_to_Hex(rgb) style = wb.add_format({ 'bg_color': '{}'.format(color)}) ws.write(j,i,'',style) ws.set_row(j,1) ws.set_column(0,w-1,0.5) wb.close() print("处理完成,文件名{}".format(filename),'\n')if __name__ == "__main__": path = os.getcwd()+'\course' # 单线程 # for filename in os.listdir('./course'): # full_path_filename = os.path.join(path,filename) # print(full_path_filename) # paint_excel(full_path_filename) # 多线程 tasklist = [os.path.join(path,filename) for filename in os.listdir('./course')] with futures.ThreadPoolExecutor(len(tasklist)) as executor: executor.map(paint_excel, tasklist) 这里是完整的代码,有单线程和多线程,具体的时间差可以自行测试下。
效果图:
转载地址:https://aiyuechuang.blog.csdn.net/article/details/114837116 如侵犯您的版权,请留言回复原文章的地址,我们会给您删除此文章,给您带来不便请您谅解!
发表评论
最新留言
关于作者
